Oven Roasted Pumpkin Seeds
Save those pumpkin seeds and learn how to make oven roasted pumpkin seeds at home! This crunchy, delicious, snack is fun for the whole family. You’ll love that it’s easy to make and super healthy too!
What naturally follows carving pumpkins and making roasted pumpkin soup? Homemade pumpkin seeds! When my kids were growing up, pumpkin carving night went on the calendar as soon as school started. It was the highlight of the season. My oldest, Ashley, would meticulously scrape *every* seed out of her pumpkin with a spoon, while my youngest, Janelle, had more fun plunging her hand into the gooey pulp and pulling out slippery seeds by the globful. In the end, we would have a small mountain of seeds to roast.
No matter what your carving style is, pumpkin seeds are just as yummy roasted as they are fun to prepare. So, if carving night has happened or you want to take advantage of those nutritious seeds that come along with the pumpkin, I’m spilling the beans on how to make them at home!
Making pumpkin seeds is as easy as 1-2-3.
Detailed instructions and photos are below and in the recipe card but here’s the overview:
Scoop – the seeds from the pumpkin.
Clean – the seeds by separating them from the gooey, stringy pulp.
Roast – Dry the seeds, toss them with oil, salt, and pepper, and roast them.
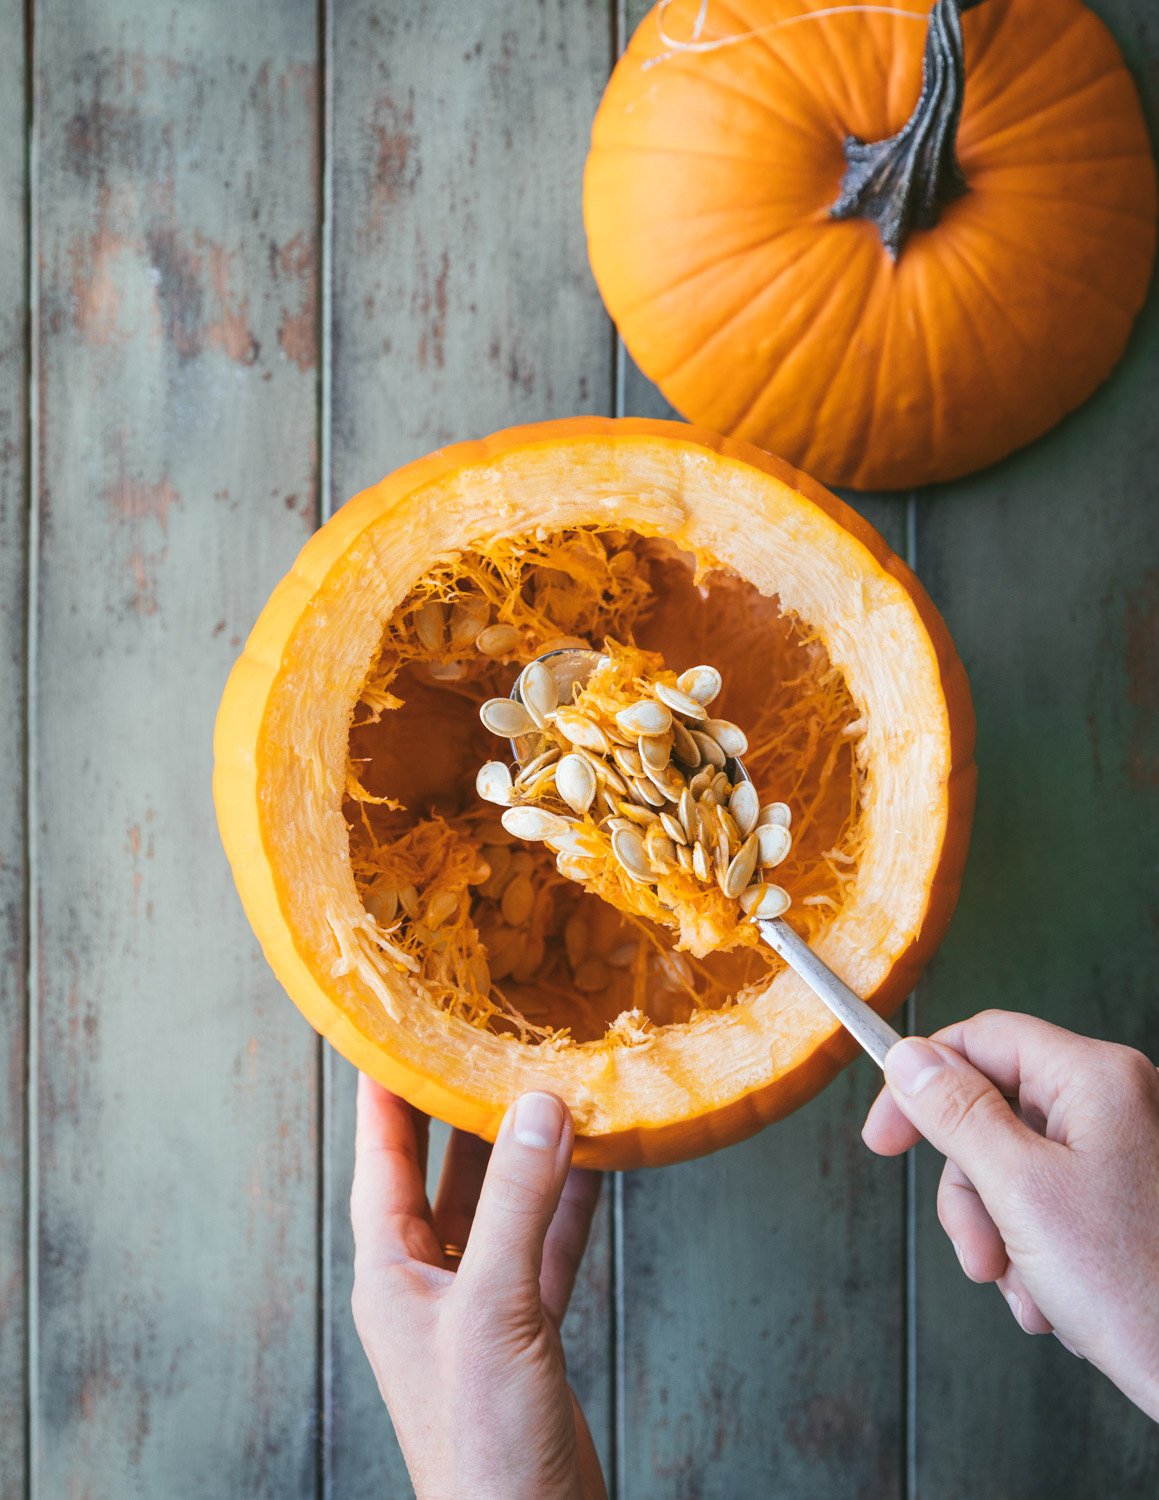
First– carefully cut a hole in the top of your pumpkin with a sharp knife. You may have to go around the cut area twice to set it free. Tug the “lid” off. Next, use a large, sturdy spoon to scrape the inside walls of the pumpkin and loosen the pulp. Use your dominant hand to grab the seeds with the pulp attached and plop them into a bowl.
Note: If you have sensitive skin, like me, you may want to wear food prep gloves to protect your hands. The naturally occurring acids in winter squash can irritate your skin. I buy exam gloves from Costco, and they work like a charm.
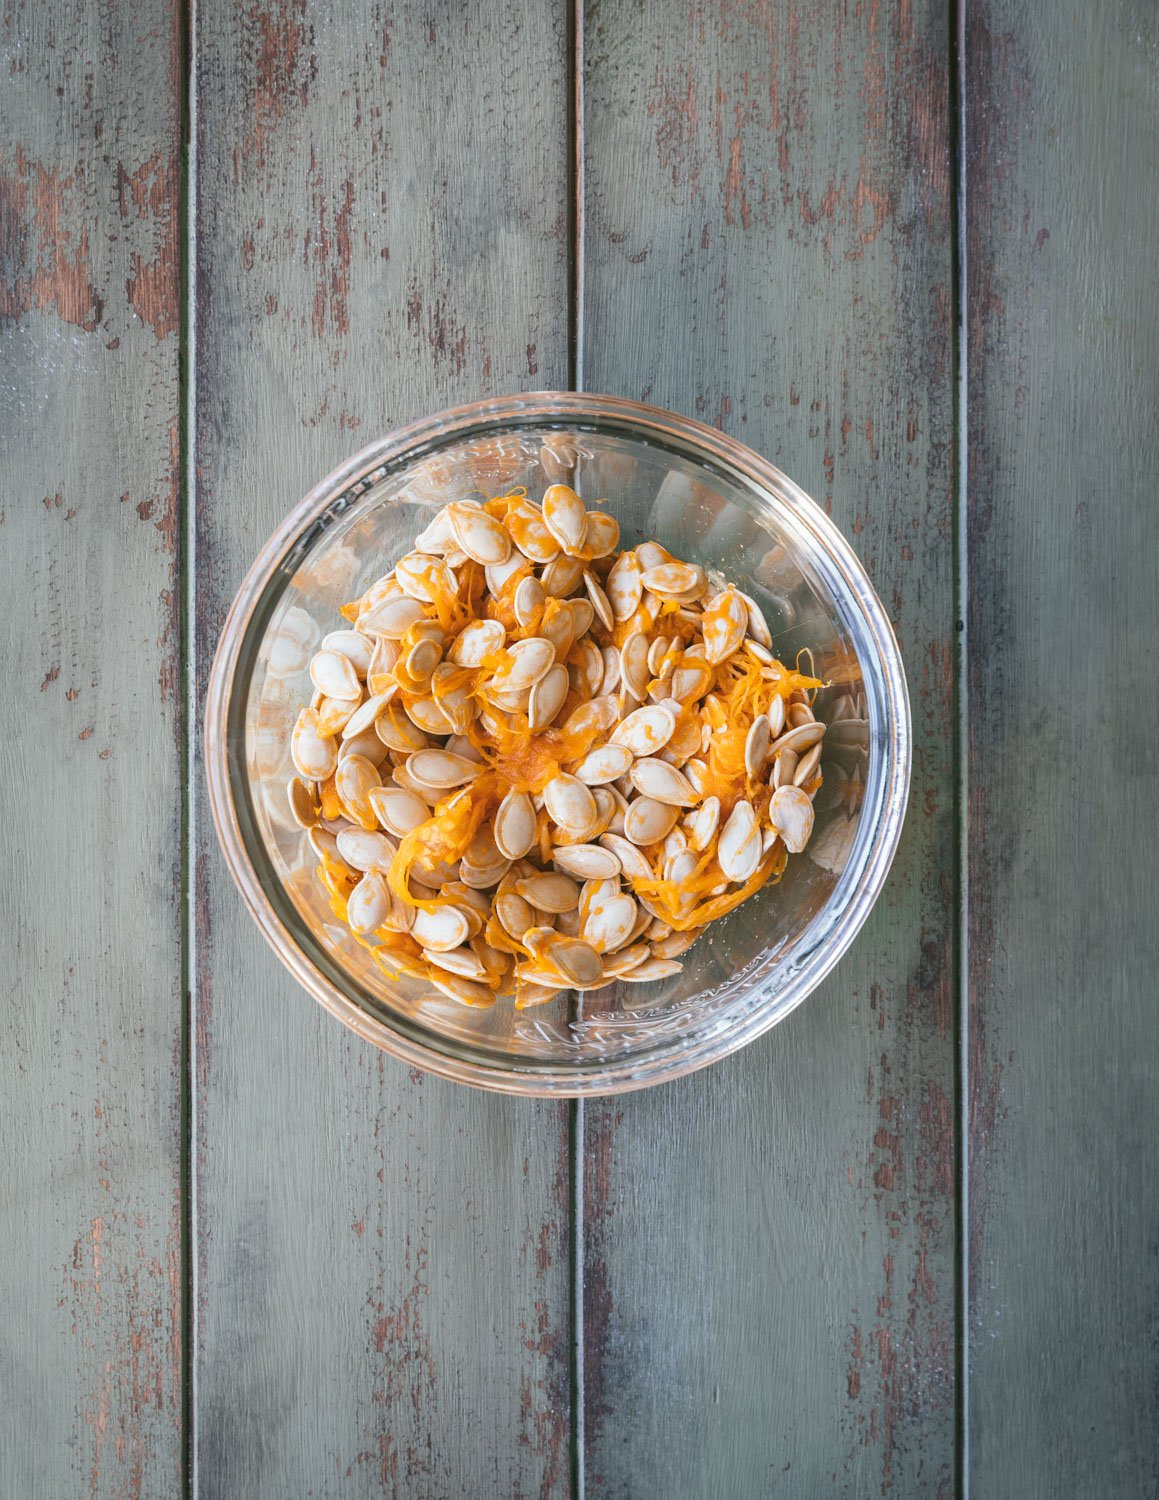
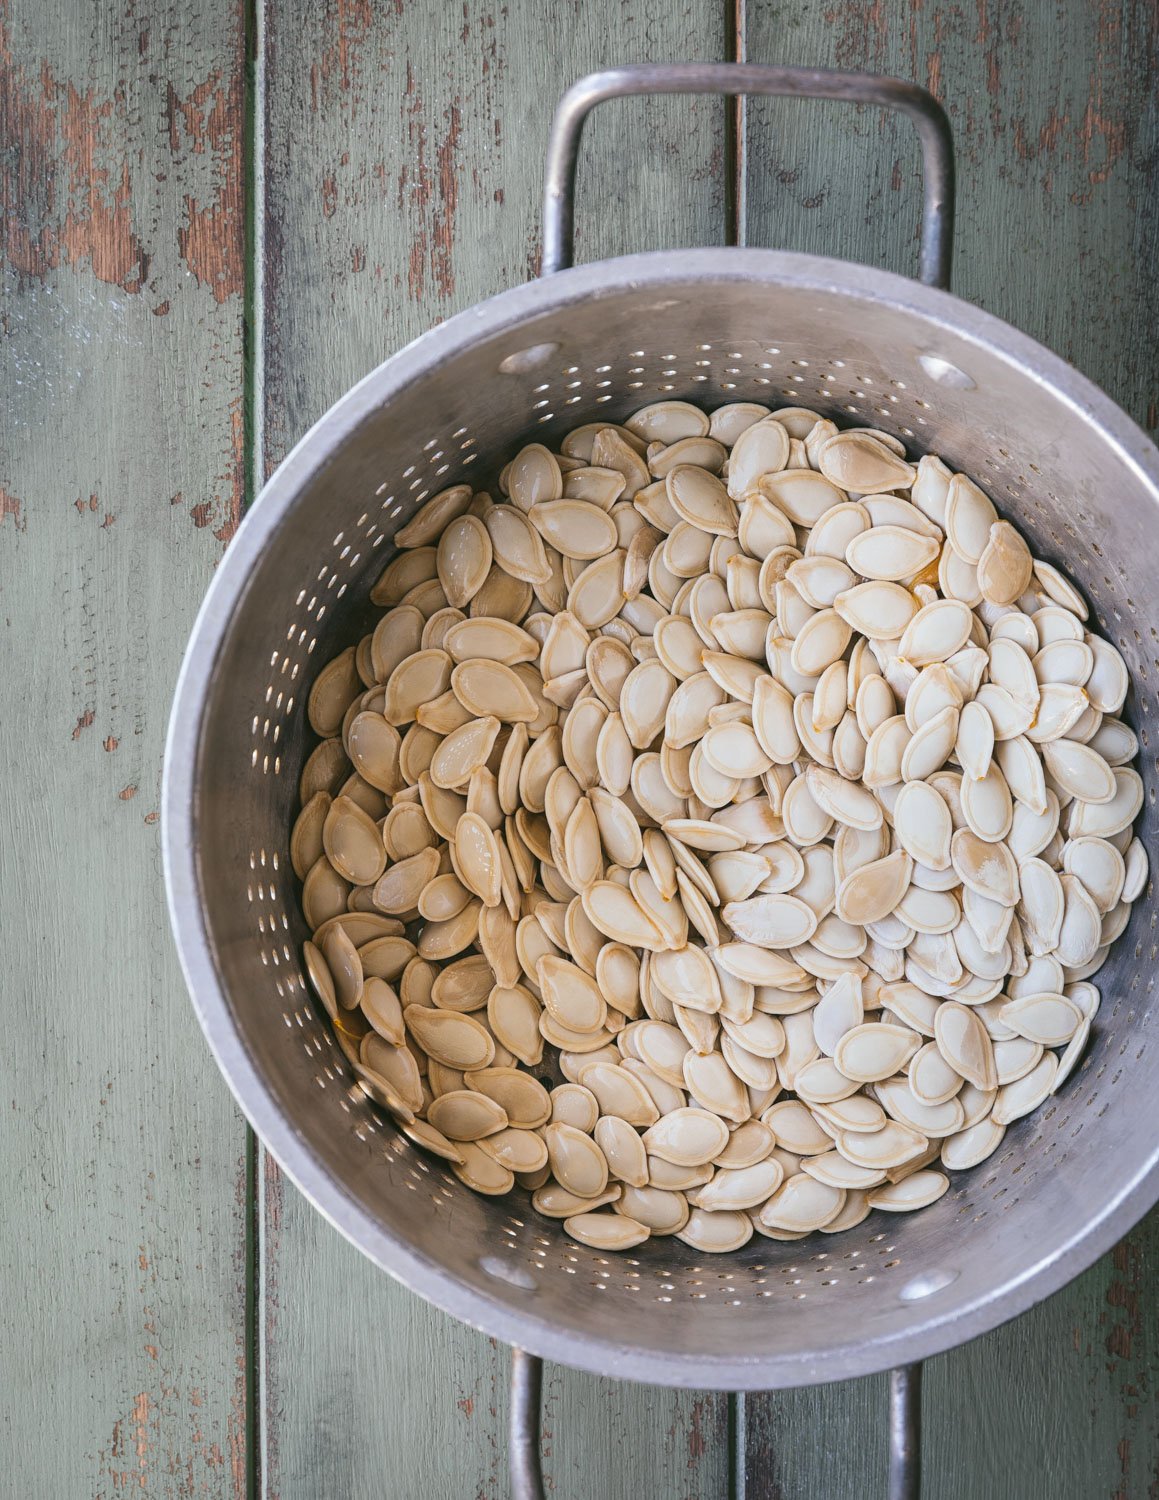
Next– separate the seeds from the pulp by grabbing the clumps of clinging seeds and putting them in a colander. If you have a few stringy bits mixed in, that’s okay. Just try to get most of it off. Rinse the seeds off under cold running water, picking out any remaining pulp. (see more photos of this process below)
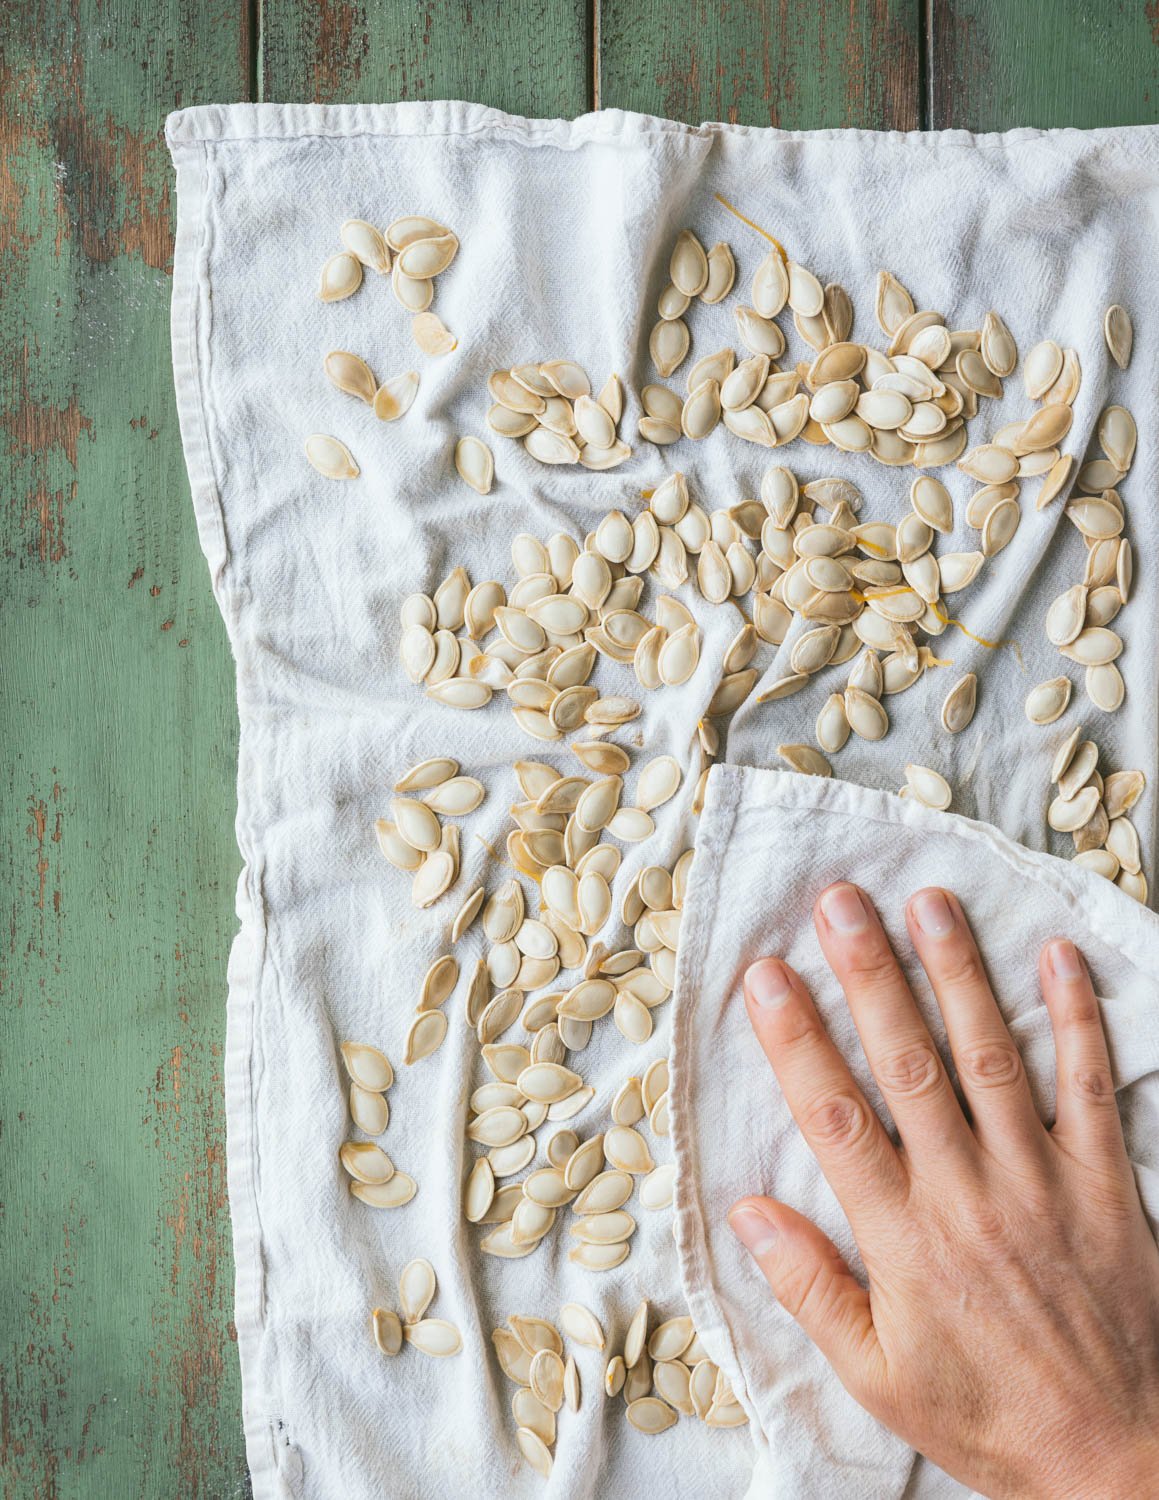
Dry- the seeds by spreading them out on a clean kitchen towel and rubbing them until they’re no longer slimy. A flour sack towel works perfectly. This step is super important so that the seeds roast in the oven instead of steam, so take your time here.
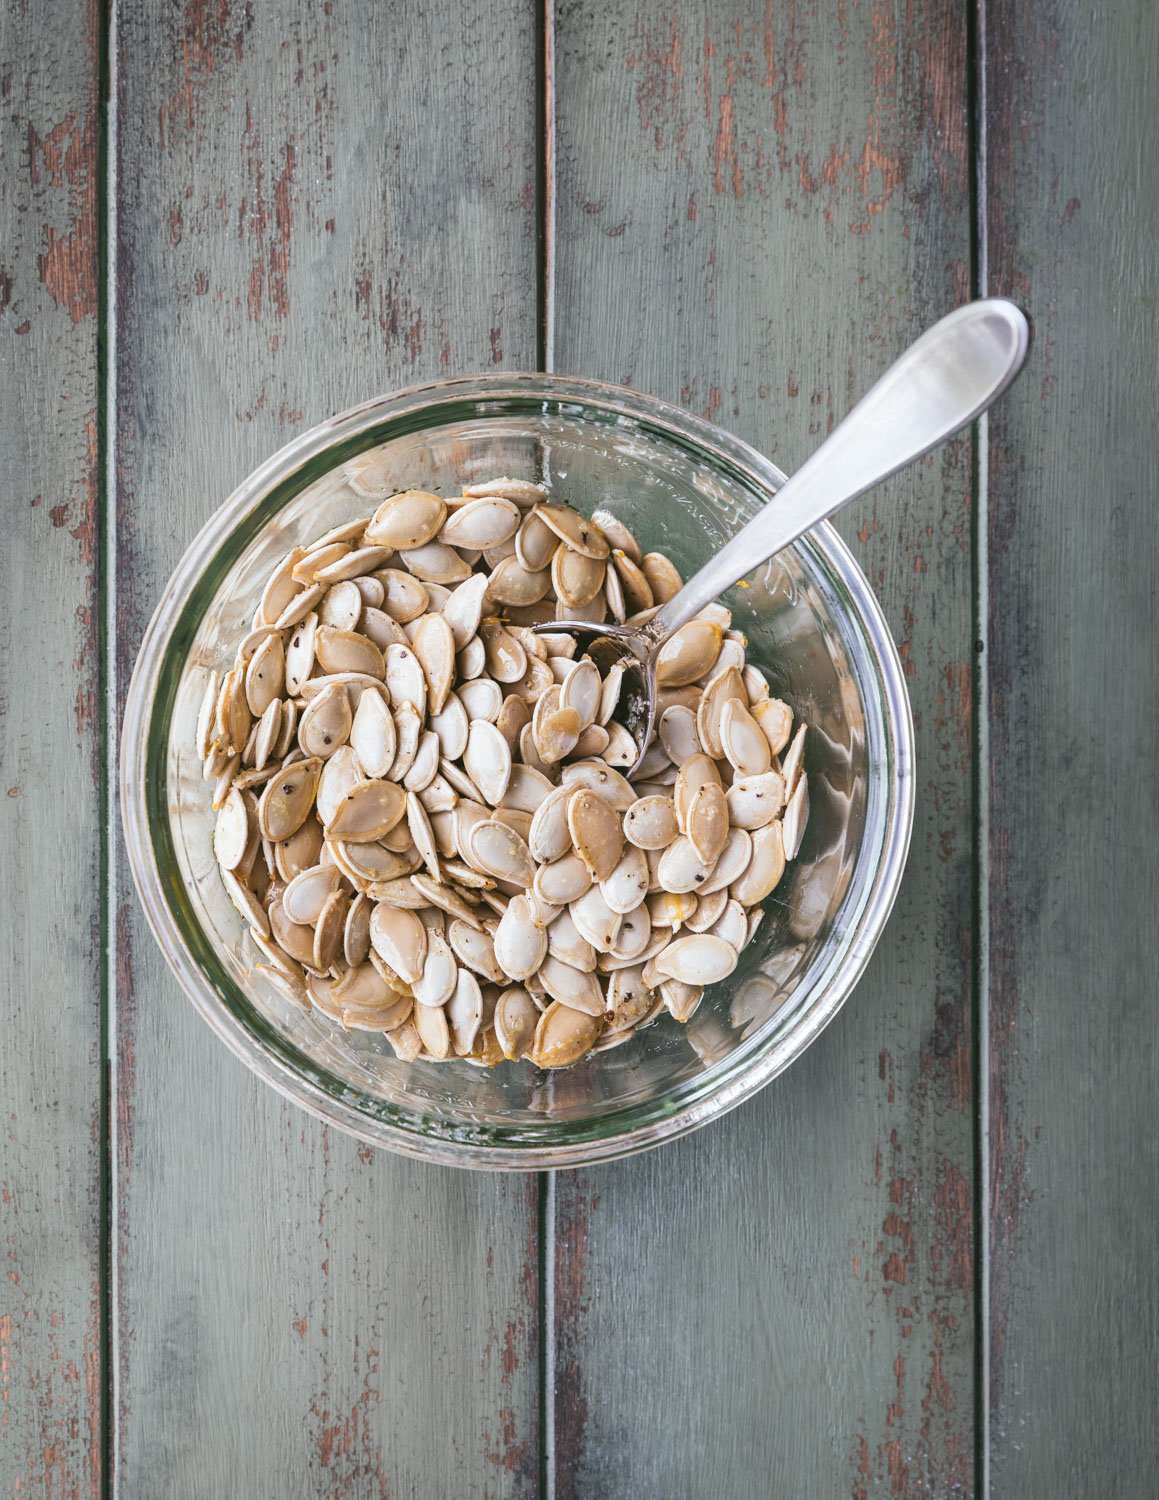
Toss- the dry seeds with olive oil, in a small mixing bowl, and then sprinkle them with salt and pepper. Toss again.
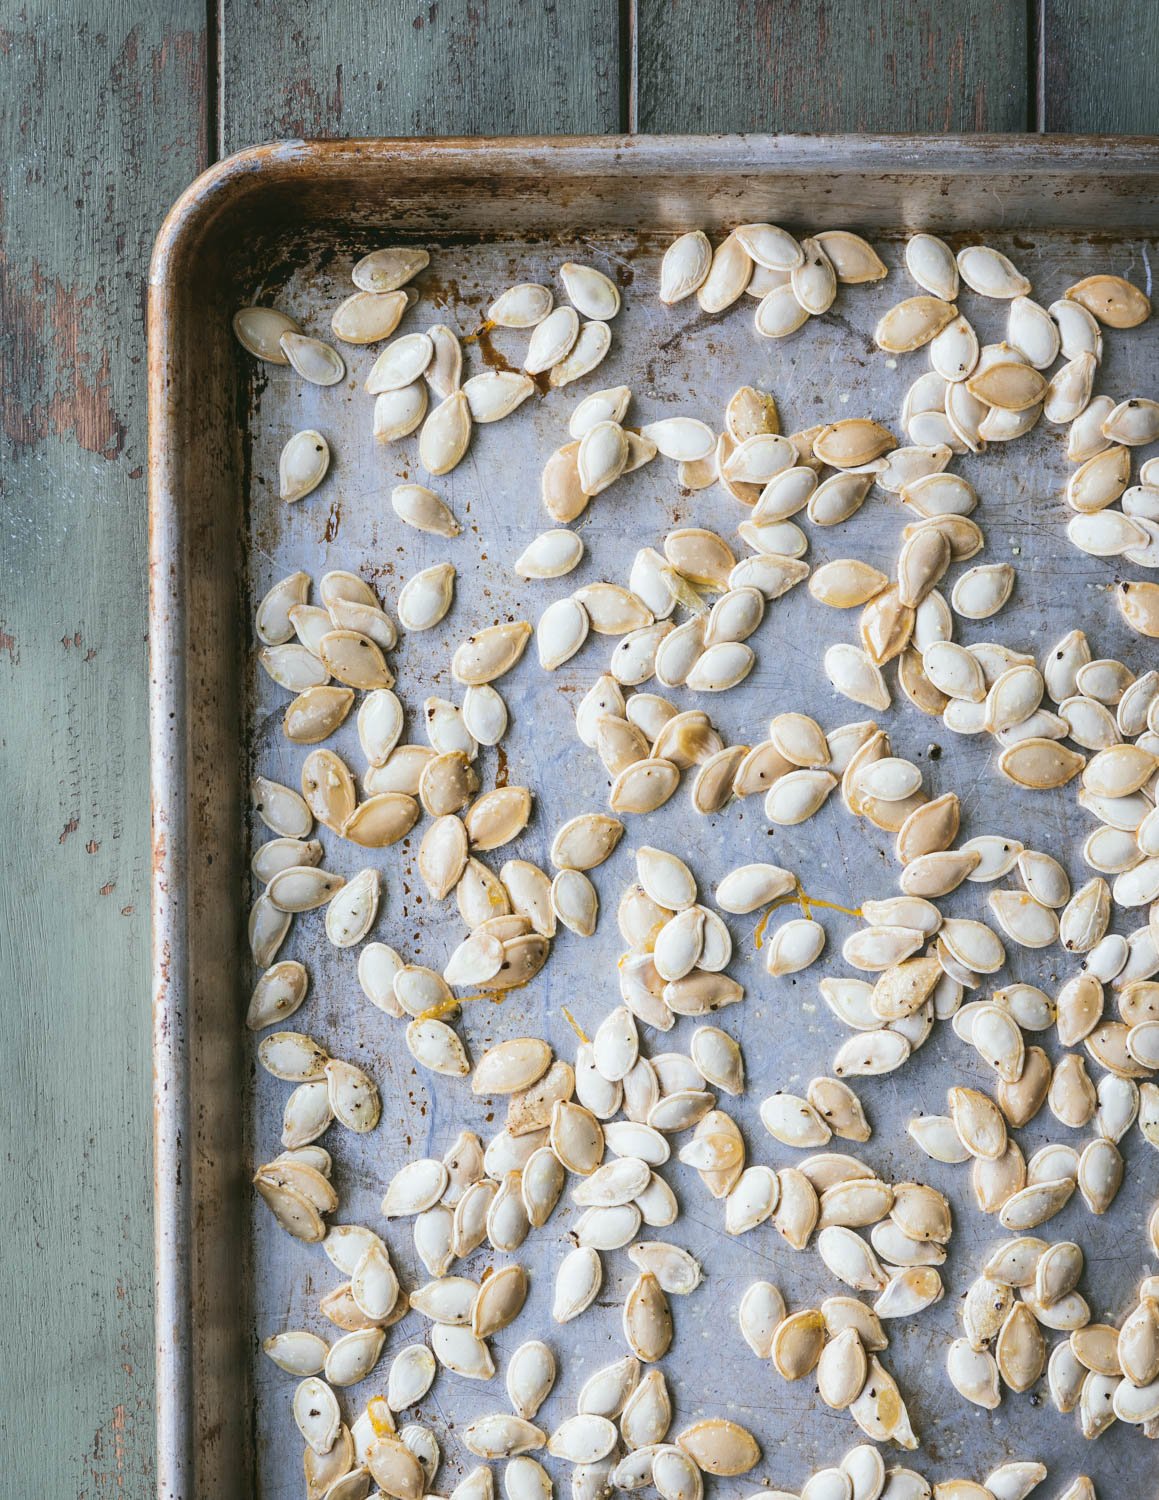
Roast- Spread the seeds out on a rimmed baking sheet so they have lots of elbow room. Then bake at 350°F / 176° C for around 20 minutes, stirring a few times to check their progress and for even roasting. Give one a taste. If they pop in your mouth with a burst of salty flavor, they’re done!
Tips and tricks for perfectly roasted pumpkin seeds
Dry your seeds thoroughly. Wet seeds will create steam as they bake in the oven, preventing them from becoming crispy.
Don’t crowd the pan. Clumps of seeds that are piled on top of each other will hold moisture and steam instead of roasting. So, take a moment to spread them in an even layer on your baking sheet.
Stir the seeds a few times during baking. This helps them crisp on both sides. As the seeds turn golden and dry out, you’ll notice it’s easier to scootch them around the baking sheet.
Even though our kids are grown, Todd and I still look forward to mining for pumpkin seeds and filling the kitchen with their warm toasty aroma. I hope you give it a try this season!
Why oven roasted pumpkin seeds will become this season’s favorite snack
Fun to eat- just like popcorn!
Protein-rich- for sustained energy.
Waste-free- Pass right on by that pricey snack aisle!
Flexible recipe- You can easily adjust the amount of oil and salt depending on how many seeds you have.
Delicious toasty flavor- thanks to healthy fats.
Just for fun, here’s a nifty article on the health benefits of pumpkin seeds.
Here’s everything you need to make this recipe
Ingredients
1 cup (119g) of raw pumpkin seeds (from 1 medium pumpkin)
1 tablespoon of olive oil
½ teaspoon of kosher salt (plus more for sprinkling)
A few twists of black pepper
How to make oven roasted pumpkin seeds
1. Preheat your oven to 350°F / 176° C / gas mark 4. Have a rimmed, ungreased baking sheet ready.
2. Scoop the seeds and pulp out of a pumpkin or winter squash. Plop the mass into a bowl.
3. Use your hands to separate the seeds from the pulp. If you have a few stringy bits clinging on, that’s okay, just try to get most of it off.
4. Rinse the seeds under cold water.
5. Dry the seeds thoroughly with a clean kitchen towel. A flour sack towel is perfect for this. Take your time here. Wet seeds will steam instead of roast.
6. Tumble the seeds into a small mixing bowl and drizzle with olive oil. Stir to coat. Sprinkle with salt and a few twists of black pepper. Toss again.
7. On your baking sheet, spread the seeds in an even layer so they’re not crowded. Bake for 20 minutes, checking their progress and stirring the seeds every 5-7 minutes. Some batches take longer than 20 minutes and that’s totally normal. If you’re not sure if they’re done, taste one! They should be golden in color and lightly crisp with a delightful salty pop of flavor. Sprinkle with more salt to taste, if needed.
8. Let cool completely and store in an airtight container.
Notes on roasting:
I tested this recipe in my vintage oven from 1952. 20 -22 minutes at 350° F was perfect for lightly golden, crispy seeds. If you have a convection oven, the roasting will take less time.
Also, seeds roast at different rates depending on their size and moisture content. So be prepared to check on their progress every 5-7 minutes. Some batches take over 20 minutes and that’s perfectly normal. Just be sure to remove them from the oven before they turn from golden to burnt.
FAQ
Can I prepare my seeds ahead of time and roast them later?
Absolutely! Clean and dry raw pumpkin seeds will stay fresh in the fridge for over a week. So, if you don’t have time to roast the seeds right away, they can be saved for later. This is what I often do after carving Halloween pumpkins or making Roasted Pumpkin Soup .
Can I roast seeds that have been cooked inside a whole pumpkin?
I’m so glad you asked! Seeds from a whole roasted pumpkin are perfectly fine to bake. There’s no need to toss them out! After the roasted pumpkin is cool enough to handle, split it in half and scoop out the seeds and pulp just like you would with a raw pumpkin.
Can I roast seeds other than pumpkin seeds?
Yup! Any winter squash with seeds that are similar in size to pumpkin seeds will taste delicious roasted. As long as they’re not teeny tiny or paper thin, you’re good to go. Each variety has a different flavor so it’s fun to experiment throughout the season.
If you’re pumped on pumpkin season, try making one of these seasonal recipes next!

Oven Roasted Pumpkin Seeds
Ingredients
Instructions
- Preheat your oven to 350°F / 176° C / gas mark 4. Have a rimmed, ungreased baking sheet ready.
- Scoop the seeds and pulp out of a pumpkin or winter squash. Plop the mass into a bowl.
- Use your hands to separate the seeds from the pulp. If you have a few stringy bits clinging on, that’s okay, just try to get most of it off.
- Rinse the seeds under cold water.
- Dry the seeds thoroughly with a clean kitchen towel. A flour sack towel is perfect for this. Take your time here. Wet seeds will steam instead of roast.
- Tumble the seeds into a small mixing bowl and drizzle with olive oil. Stir to coat. Sprinkle with salt and a few twists of black pepper. Toss again.
- On your baking sheet, spread the seeds in an even layer so they’re not crowded. Bake for 20 minutes, checking their progress and stirring the seeds every 5-7 minutes. Some batches take longer than 20 minutes and that’s totally normal. If you’re not sure if they’re done, taste one! They should be golden in color and lightly crisp with a delightful salty pop of flavor. Sprinkle with more salt to taste, if needed.
- Let cool completely and store in an airtight container.
Notes
I tested this recipe in my vintage oven from 1952. 20 -22 minutes at 350° F was perfect for lightly golden, crispy seeds. If you have a convection oven, the roasting will take less time.
Also, seeds roast at different rates depending on their size and moisture content. So be prepared to check on their progress every 5-7 minutes. Some batches take over 20 minutes and that’s perfectly normal. Just be sure to remove them from the oven before they turn from golden to burnt.
For step-by-step instructions and photos, see blog post!
Nutrition Facts
Calories
120.94Fat (grams)
11.36Sat. Fat (grams)
1.87Carbs (grams)
1.85Fiber (grams)
1.02Net carbs
0.84Sugar (grams)
0.23Protein (grams)
4.86Sodium (milligrams)
291.93Cholesterol (grams)
0Nutritional information is provided as a courtesy and is an estimate only. This information comes from online calculators.


