
Homemade Almond Milk
Creamy, smooth, and delicious, use Homemade Almond Milk anywhere you would use dairy-based milk. This blog post has the lowdown on everything you need to know about making your own almond milk at home.

The very first homemade dairy-free milk I made after going vegan was almond milk. I even bought a fancy plant milk maker, which I used approximately twice because it was too fussy. After summoning up some courage, I bought a nut milk bag for under $5 and made my own. Guess what? It was easy! Like really easy. Not only that, it was better than the store-bought milks that are loaded with stabilizers and other suspicious ingredients. I’ve happily been on the homemade almond milk train ever since. Here’s the lowdown on making your own almond milk.
Why I love homemade almond milk:
So much tastier than store-bought
Quick to make with soaked nuts
Additive-free (no stabilizers or chemicals)
Low waste and convenient
Customizable
Just for you! I’ve created a downloadable and printable PDF guide on how to make almond milk. Click here for your free guide.
The first thing you need to know about making homemade almond milk is that you have to soak your nuts (in the fridge). Soaked nuts become soft and much easier to blend than hard, dry nuts, resulting in a creamier more flavorful milk. The sweet spot for soaking nuts is 24 hours. You can soak them for less time or (in a pinch) hot soak them by pouring boiling water over the nuts and letting them sit for an hour, but the milk will taste a bit watery. I’ve let almonds soak in the fridge for days on occasion (or accident!) and that’s okay too.
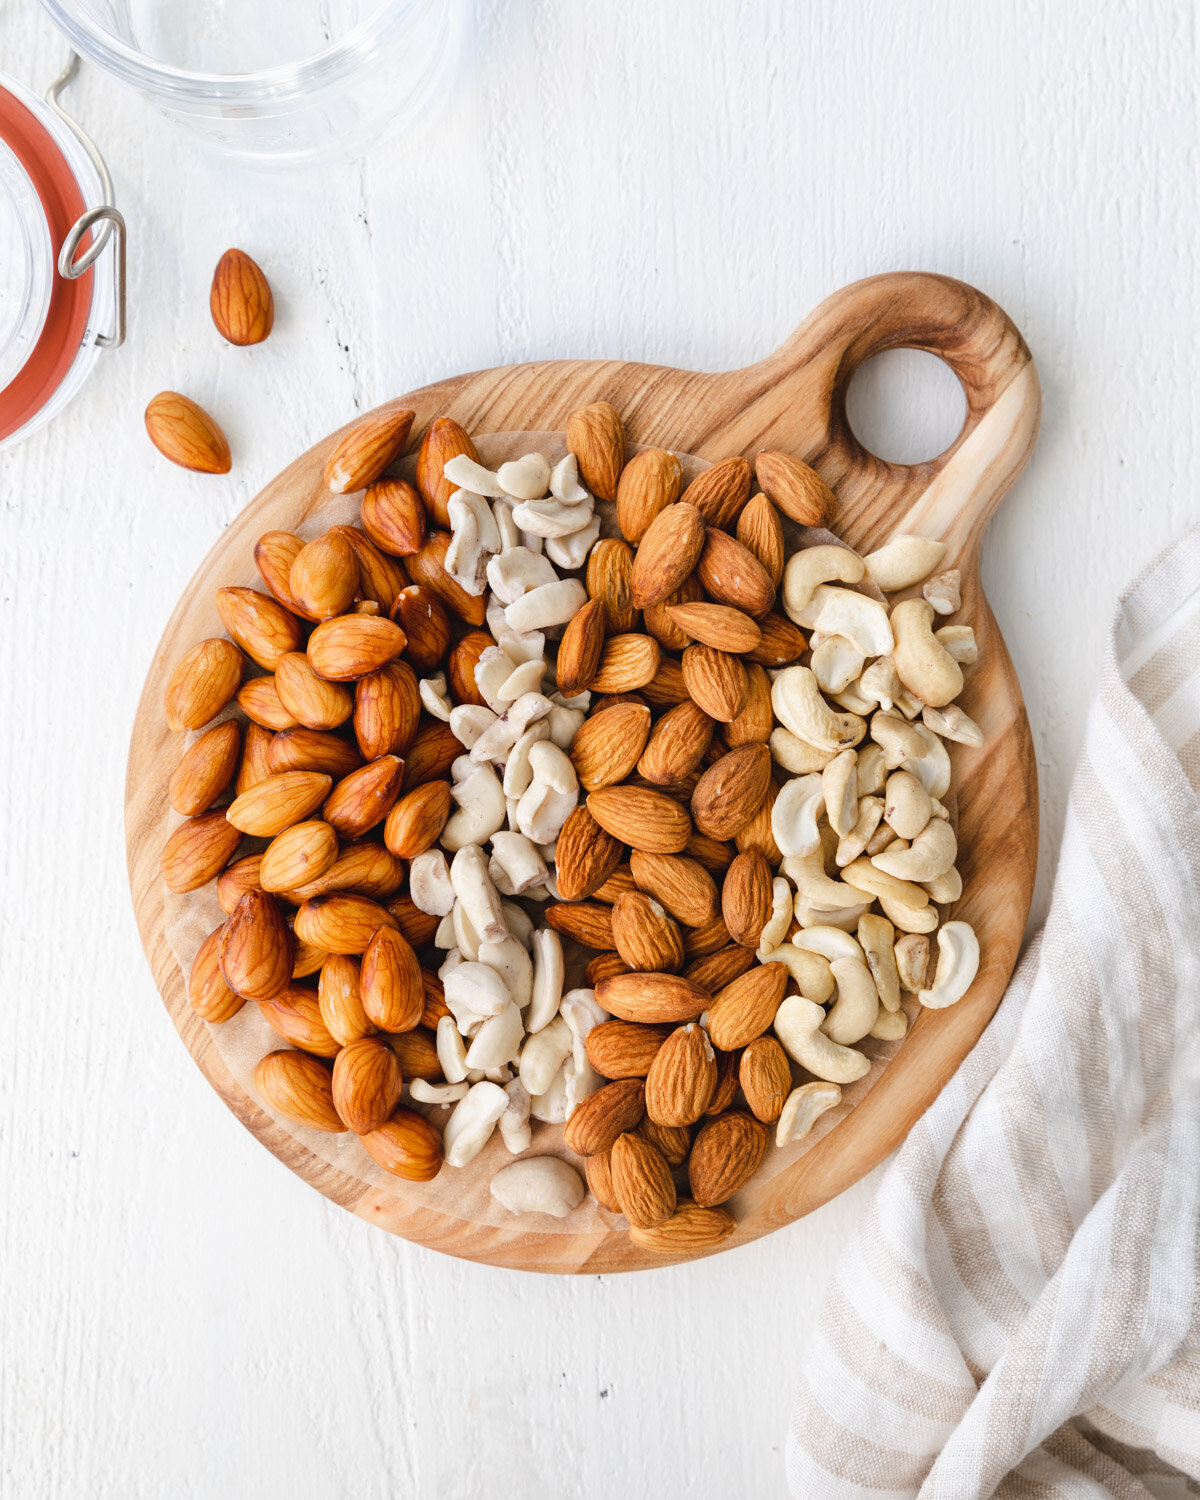
Soaked Almond and Cashews for Homemade Almond Milk
The plump, soft almonds and cashews on the right are soaked. The hard, dry nuts on the left are not soaked.
It’s important to drain off the soaking water, rinse the almonds, and use fresh water for blending. The soaking water can taste bitter as it draws out impurities from the nuts.
About blenders:
Yes, you can make delicious, creamy, and smooth almond milk in a budget blender. Just be sure that your nuts are well soaked (24+ hours) and that you blend your almonds and water for a couple of minutes. A high-powered blender, such as a Vitamix, will power through the nut/water mixture in about 1 minute.
About nut milk bags:
I’ve had the best luck with a store-bought nut milk bag which is inexpensive and lasts for years. You can use cheesecloth or an old t-shirt, but bits of nuts creep through the cheesecloth and a t-shirt can be hard to squeeze the liquid through.

Adding sweeteners and flavors:
I add a teaspoon each of vanilla and maple syrup and a pinch of salt to my homemade almond milk. The extra sweetness and flavor make it a real treat. You might just find yourself standing in front of an open fridge guzzling straight from the jar!
Using different nuts: Homemade almond milk requires nothing other than almonds and water. However, I find that using 2/3 almonds and 1/3 cashews creates the creamiest, smoothest almond milk.
Equipment:
You really just need a blender and a nut milk bag. But, a funnel is handy for transferring the almond milk from bowl to jar without spilling.

Storage and separation:
Store your almond milk in clean glass jars in the fridge for up to a week. Glass works really well because it doesn’t impart any unwanted flavors to the milk the way plastic can. Will it separate? Yes! Because there are no stabilizers to keep the milk from separating, like in store-bought almond milk, it will separate some. This is totally normal and not a sign that it’s gone bad. Just give it a shake before pouring and you’ll be good to go.

Is it cheaper than store-bought?
If you buy almonds in bulk it is a bit cheaper than buying store-bought almond milk. But, the quickest, cheapest milk is oat milk, which requires no soaking and is what I usually make, even though I actually prefer almond milk.
Once you get used to it, the whole process takes about 10 minutes from blender to jar. Are you ready to make homemade almond milk? Let’s do this!
Ingredients for Making Homemade Almond Milk
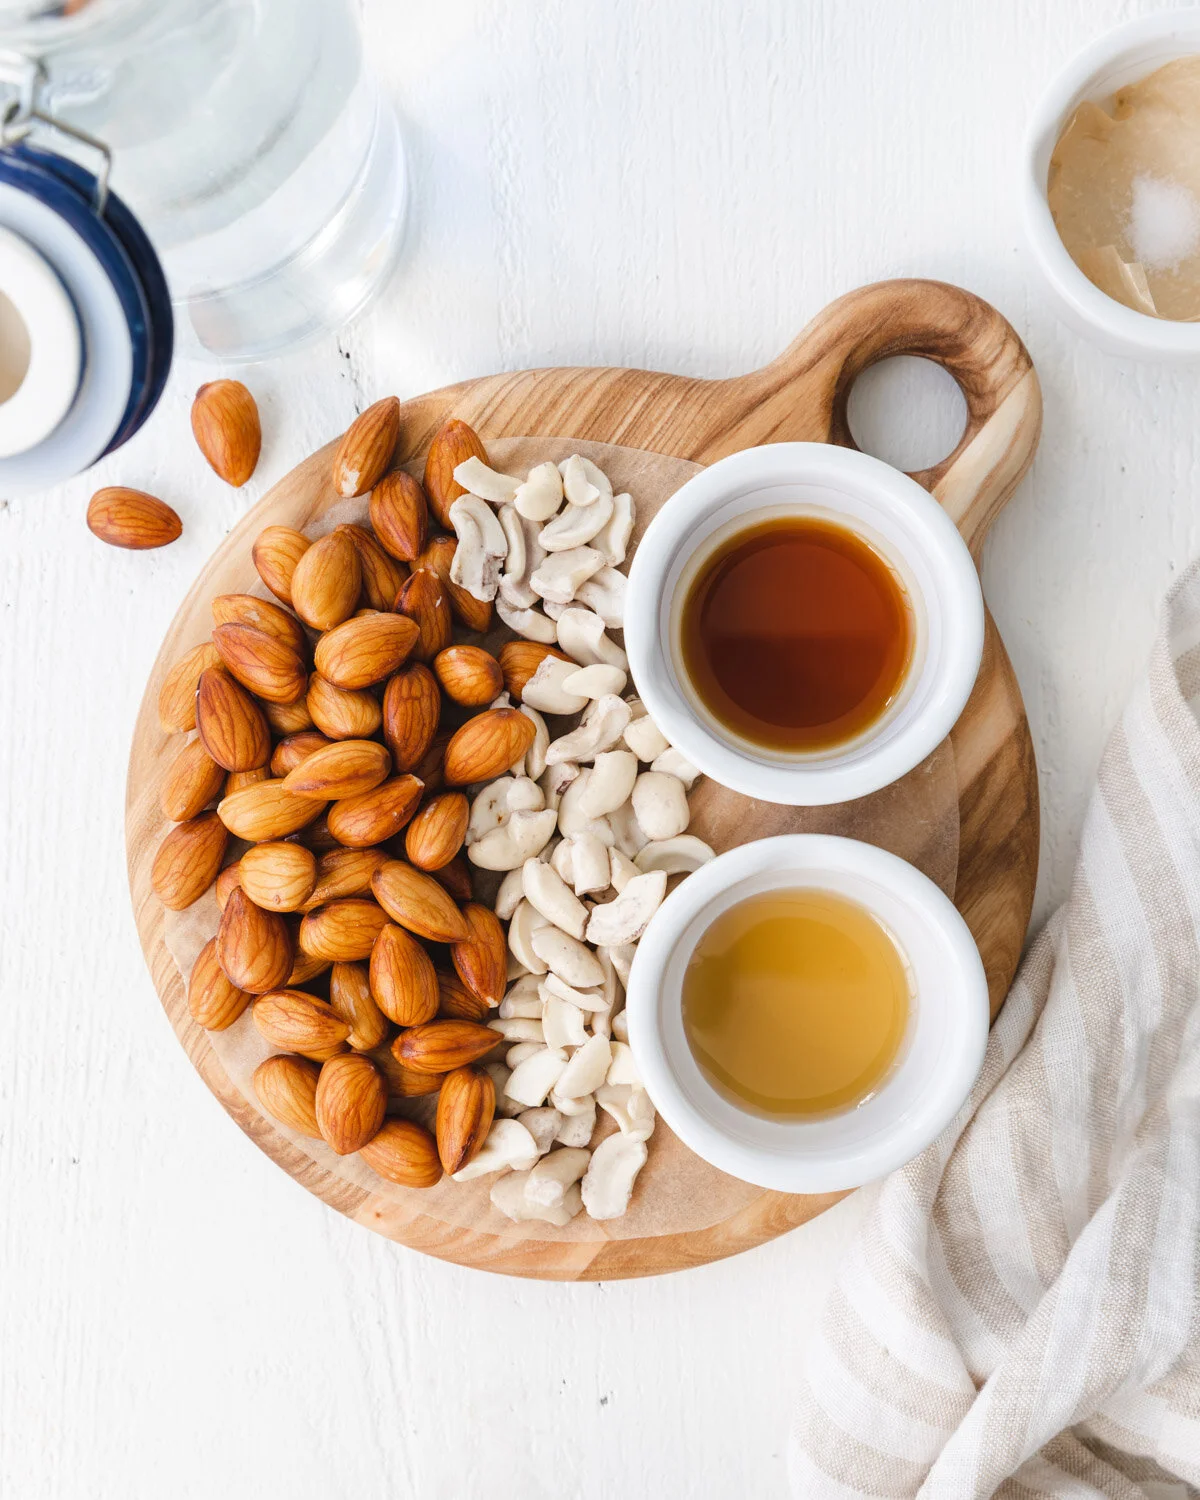
Ingredients:
o 2/3 cups (87 grams) of almonds
o 1/3 cup (50 grams) of cashews
o 4 cups (32 oz, 946 ml) of cold water
o 1 teaspoon of vanilla extract
o 1 teaspoon of maple syrup
o 1 pinch of fine sea salt
Makes 4 cups of almond milk
Method for Making Homemade Almond Milk
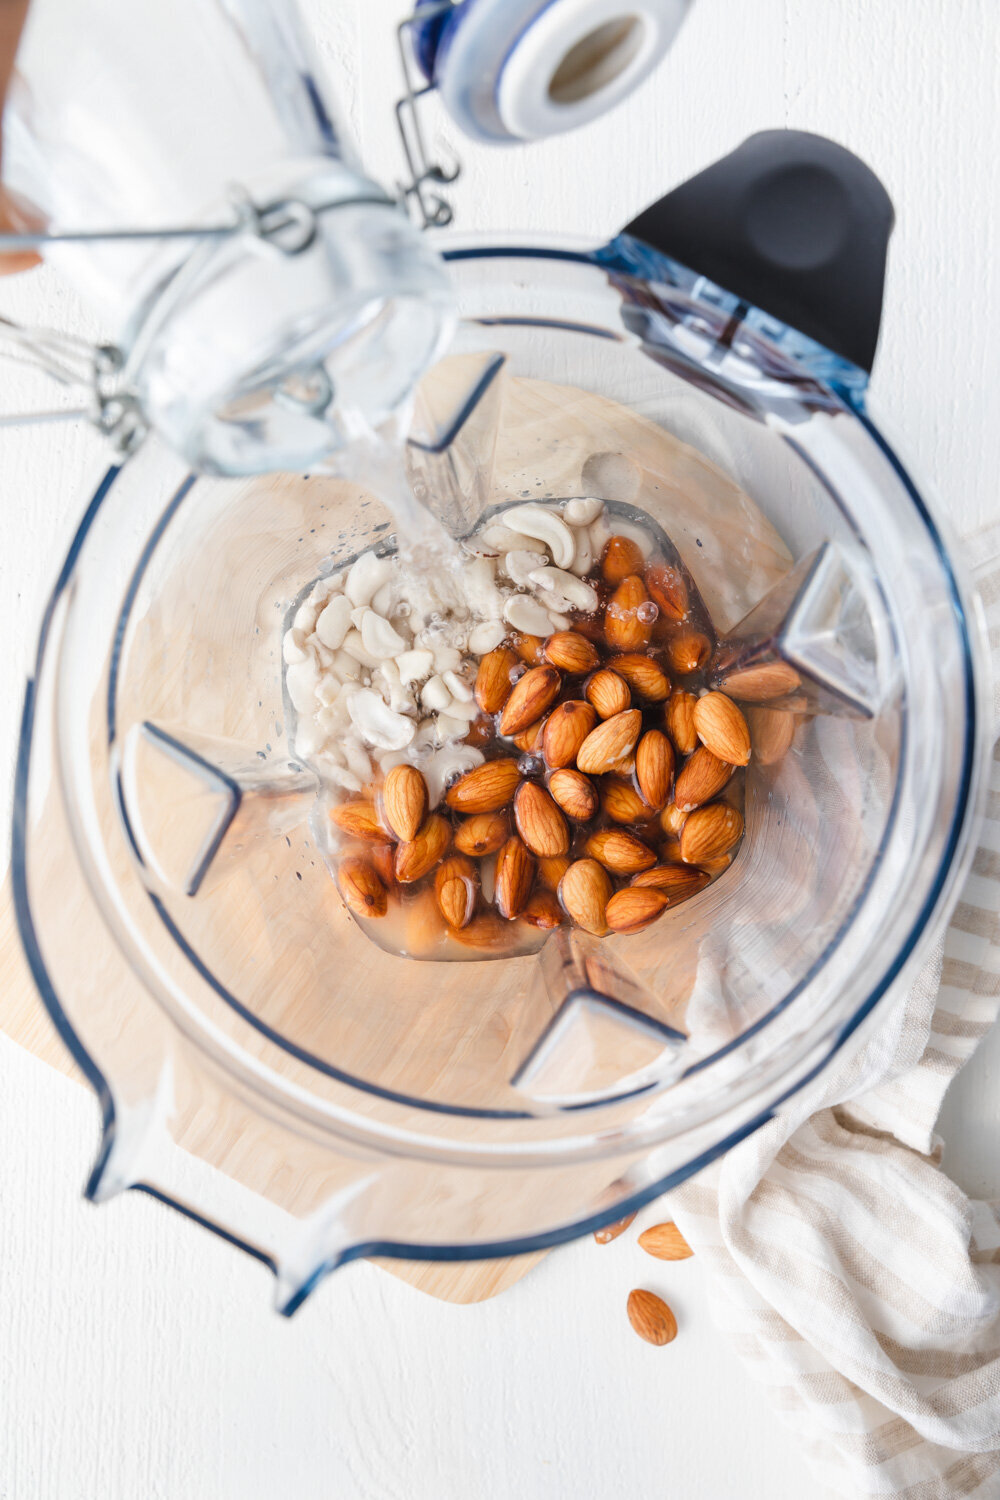
Steps 1-3:
1. Soak almonds and cashews in water in the fridge for 24 hours. Cover the nuts with enough water so that they will still be covered as they expand.
2. Drain the soaking water and rinse off the nuts.
3. Add the soaked nuts, water, vanilla, maple syrup, and salt to a blender container.

Step 4:
4. Securely attach the lid to the container and blend at high speed for one minute or up to 3 minutes depending on your blender type. The water will turn white, frothy, and be speckled with almond bits.

Step 5:
5. Pour the almond/water mixture through a nut milk bag over a bowl.

Step 6:
6. Using your hands, squeeze all the liquid out of the nut milk bag, leaving only the nut pulp behind.
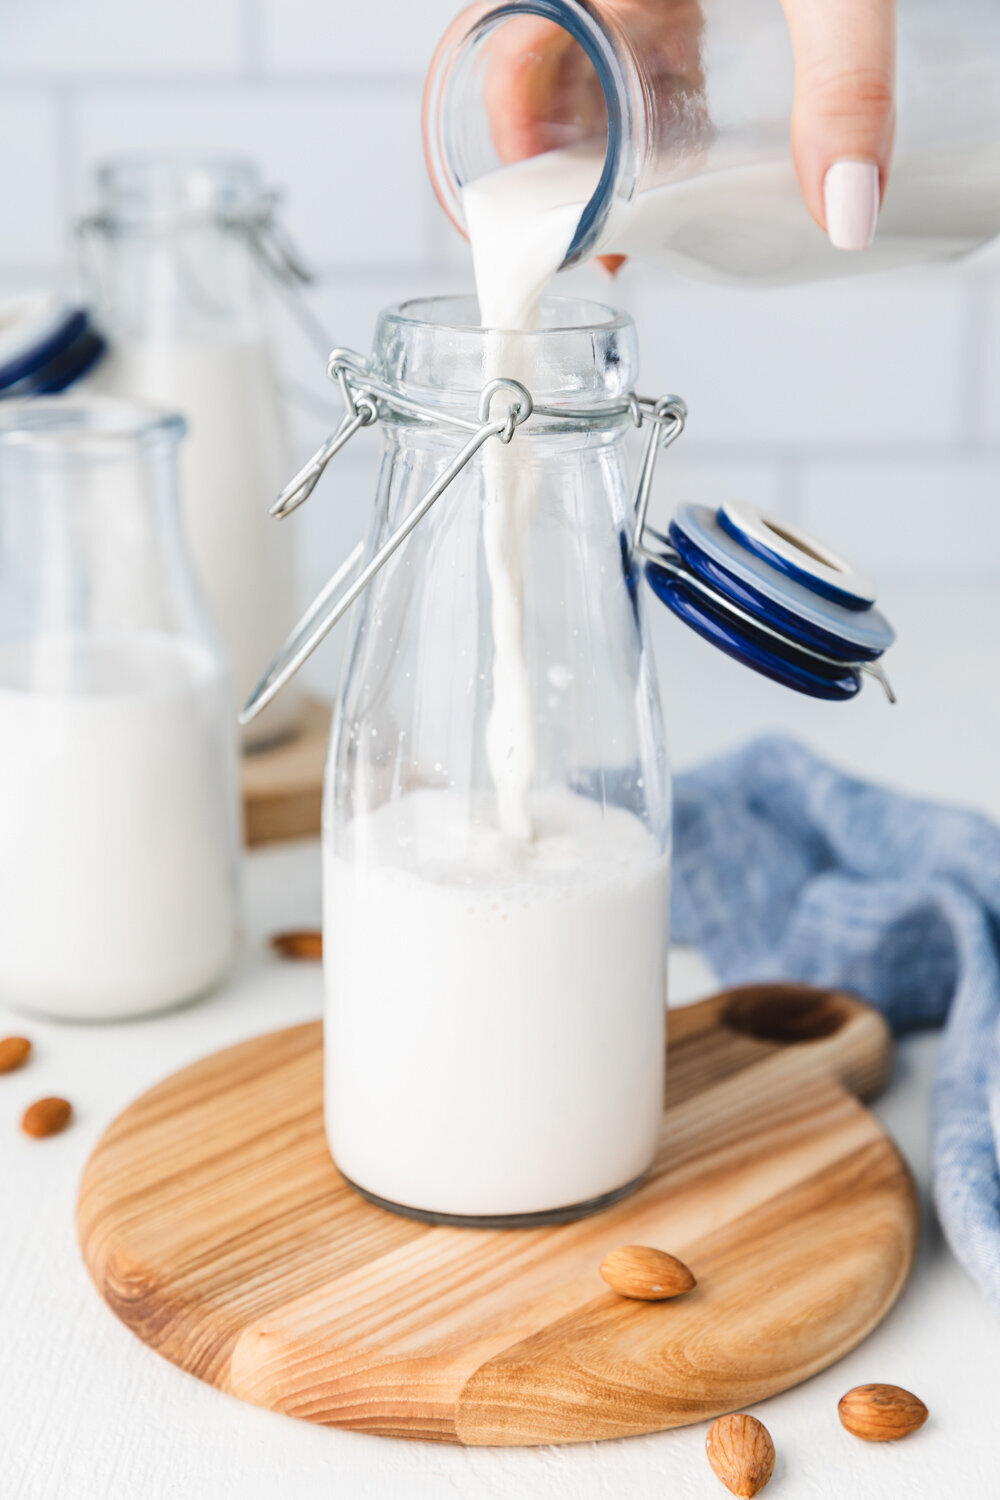
Step 7:
7. Pour the strained almond milk into clean glass jars and store in the fridge.

Creamy, smooth, and delicious, use homemade almond milk anywhere you would use dairy-based milk. It works beautifully in baking, smoothie bowls, coffee/tea, and more.
Kitchen tips:
I like to get another batch of nuts soaking when the almond milk jar is almost empty. That way there’s always soft, soaked nuts ready to blend.
Keep the pulp! Almond pulp can easily be turned into almond four by drying it out in the oven at a low temperature and then blending it. Spread the pulp in a thin layer on a baking tray or two, and dry it in a 200 F (93 C) oven for several hours or overnight. Blend the dry pulp in a blender until it turns into coarse flour. This is the almond flour I use in my quick breads.


How to Make Homemade Almond Milk
Ingredients
Instructions
- Soak almonds and cashews in water in the fridge for 24 hours. Cover the nuts with enough water so that they will still be covered as they expand.
- Drain the soaking water and rinse off the nuts.
- Add the soaked nuts, water, vanilla, maple syrup and salt to a blender container.
- Securely attached the lid to the container and blend on high speed for one minute or up to 3 minutes depending on your blender type. The water will turn white, frothy, and be speckled with almond bits.
- Pour the almond/water mixture through a nut milk bag over a bowl.
- Using your hands, squeeze all the liquid out of the nut milk bag, leaving only the nut pulp behind.
- Pour the strained almond milk into clean glass jars and store in the fridge.
Notes
For step-by-step instructions with photos and a FREE pdf guide, see blog post!
Nutrition Facts
Calories
43.94Fat (grams)
3.13Sat. Fat (grams)
0.36Carbs (grams)
2.79Fiber (grams)
0.52Net carbs
2.27Sugar (grams)
1.44Protein (grams)
1.18Sodium (milligrams)
76.58Cholesterol (grams)
0.00Nutritional information is provided as a courtesy and is an estimate only. This information comes from online calculators.


