How to Cook Dried Garbanzo Beans
Learn how easy it is to cook dried garbanzo beans from scratch! This blog post is the ultimate guide to soaking and cooking chickpeas in an Instant Pot, rice cooker, or on the stovetop.

What Are Garbanzo Beans?
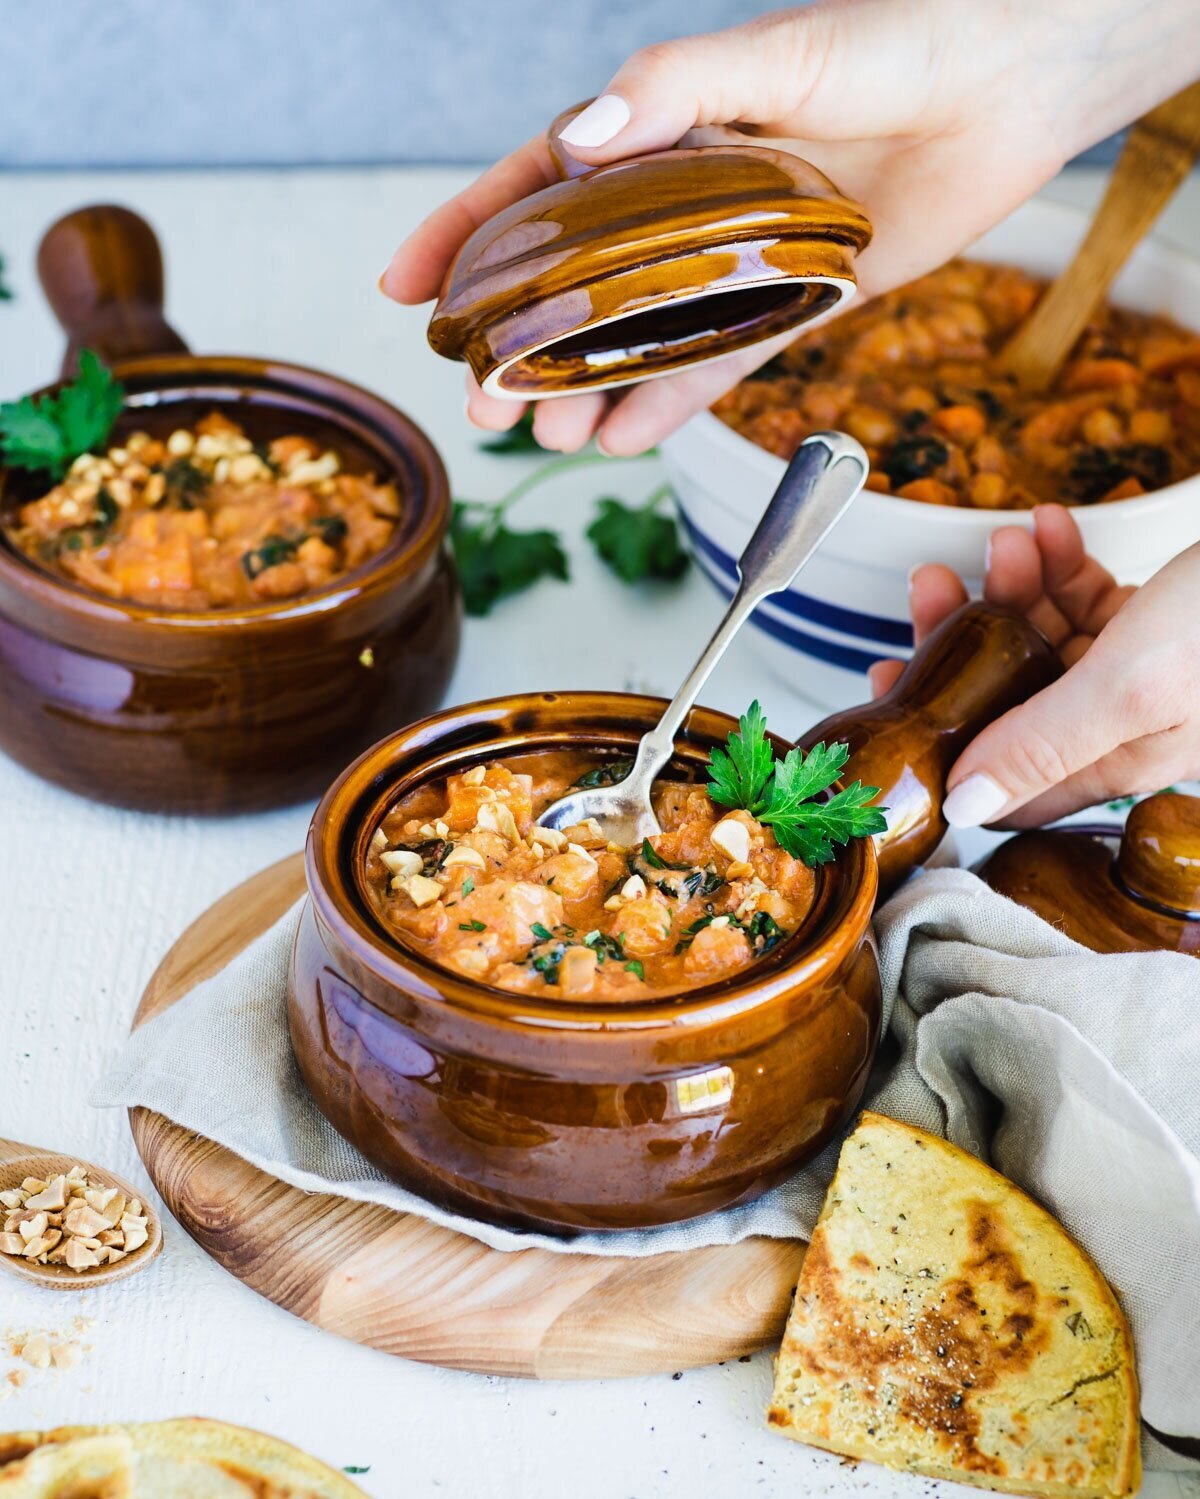
I adore garbanzo beans! They are also known as chickpeas, and you’ll see them referred to by both names. It’s one of the few ingredients I *always* have in my pantry. These tasty little guys can be used in everything from chocolate chickpea clusters to creamy tomato curry.
Growing up we would buy canned chickpeas. That’s all I knew. But after becoming a busy mom of 4 and cooking on a budget, I discovered how easy it is to cook dried garbanzo beans from scratch. The process doesn’t take a lot of time or effort, but it does take a little planning. So pull up a chair my friend, in this blog post, I’m spilling the beans and sharing everything you need to know!
Fun fact: Garbanzo beans are one of the oldest cultivated crops, dating back thousands of years in the Middle East!
Dried vs Canned
We all know how easy it is to open a can of chickpeas. But, what about cooking dried chickpeas from scratch? Here are some benefits for each of you to get started.
Dried Chickpeas
1. Cost-effective: Dried chickpeas are usually cheaper than canned. Especially if purchased from the bulk section of your natural grocer.
2. Less sodium: There is no sodium in dried chickpeas, which is often present in canned. You have full control over the amount of salt added during cooking.
3. Texture: When cooked from scratch, chickpeas have a firmer and less mushy texture compared to canned.
4. Long shelf life: Dried garbanzo beans are very low in moisture making them ideal for long-term storage.
Canned Chickpeas
1. Convenience: Canned chickpeas come pre-cooked and ready to use.
2. Time-saving: There is no need to soak or cook canned chickpeas. Just open the can, drain, rinse, and use.
3. Consistent texture: You can feel fairly rest assured that one can of chickpeas will have a similar texture to the next.

Soaked vs Unsoaked
Be kind to yourself and those around you. Soak your dried garbanzo beans before cooking them. This makes them easier to digest and *much* faster to cook. It only takes a few minutes to get started. Then you can walk away and let the liquid go to work!
If you need chickpeas ASAP and have an Instant Pot, it’s perfectly fine to cook unsoaked beans. Speaking from experience here, know that some folks might have gas after eating them.
I always add vinegar to my soaking water. I promise your chickpeas won’t taste briny! The vinegar smell and taste disappear after rinsing. This simple step helps break down phytic acid and complex sugars, increasing mineral absorption and decreasing potential gas.
Simple Ingredients You’ll Need
You’ll find the complete ingredient list with measurements and instructions in the recipe card at the bottom of this post. Here’s what you’ll need to soak and cook dried garbanzo beans.

For soaking (all 3 methods)
2 cups (400 g) of dried garbanzo beans
6 cups (1,420 ml) of cold water
¼ cup (60 ml) of vinegar
For cooking (all 3 methods)
2 cups (400 g) of dried garbanzo beans, soaked or unsoaked
6 cups of cold water (You may need more water for the stovetop method, depending on the size of your pot.)
2 teaspoons of salt (optional)
How to Soak Dry Garbanzo Beans (with photos)


1. Give your chickpeas a quick going over and pick out anything suspicious. Chickpeas are green before they are dried, and you may find one or two mixed in. This is perfectly okay.
2. Add the chickpeas to a large bowl with enough water to cover them by 2 inches. Pour in ¼ cup of vinegar. (or 2 tablespoons per cup of dried garbanzo beans) Any type of vinegar is fine. Stir to combine. You may hear cheerful snapping sounds as they hydrate.


3. Let the chickpeas soak for 12-24 hours.
4. Drain and rinse the chickpeas under cold running water until they no longer smell like vinegar. Cook them right away or store, covered, in the refrigerator for up to 5 days.
Cooking Time Chart
The exact amount of time it takes to cook dried garbanzo beans will vary depending on how fresh your beans are. If they have been stored in a cool dry place and are under 2 years old, follow the time chart below.

Instant Pot:
Unsoaked: 35-40 minutes with a quick pressure release (37 minutes is my sweet spot)
Soaked: 10-15 minutes with a quick pressure release (12 minutes is my sweet spot)
For very soft chickpeas, use a natural pressure release or increase the amount of cooking time to 15 minutes.
Rice Cooker:
Unsoaked: You must soak your garbanzo beans first to use the rice cooker method. Otherwise, they won’t cook all the way through.
Soaked: Select the brown rice setting. This will cook the garbanzo beans until al dente (still a little crunchy). Run this setting twice. This ensures that the beans are soft enough to mash.
Stovetop:
Unsoaked: I *highly* recommend soaking your garbanzo beans first. It can take well over 2 hours to cook unsoaked beans with lots of hovering over the pot to check the water level.
Soaked: 90 minutes from when the water begins to boil. Start checking to see if they’re done after 60 minutes.
How to Cook Garbanzo Beans in an Instant Pot (with photos)
I use a standard 6-quart Instant Pot. This model can hold up to 4 cups of dried garbanzo beans with water filled to the “max” line. The recipe below is for cooking 2 cups of dried chickpeas.

1. Add 2 cups (400 g) soaked or unsoaked garbanzo beans to the cooking pot. Pour in 6 (1,420 ml) cups of water. Stir in 2 teaspoons of (optional) salt. Secure the lid.
2. Select the pressure cooking setting at high pressure. Next, choose the amount of time you wish to cook the garbanzo beans. This is between 10-15 minutes for soaked beans and 35-40 minutes for unsoaked beans. My sweet spot for soaked is 12 minutes and 37 minutes for unsoaked.
3. Once the pressure cooker comes up to temperature it will start the clock. You’ll know it’s finished when the clock is at zero followed by an audible signal.


4. The quickest way to remove the lid is with a quick pressure release. Slide the pressure release tab or knob to release the pressure. It will steam like crazy so be prepared! The lid is ready to open when all the steam has escaped.
5. Rinse the cooked garbanzo beans under cold running water to stop the cooking process and remove any extra salt. Some of the skins will slide off and that’s okay. They are perfectly edible.
How to Cook Garbanzo Beans in a Rice Cooker
You must use soaked garbanzo beans when using a rice cooker so they can cook all the way through.

Follow the same general directions (scroll up) for a rice cooker as a pressure cooker.
Choose the brown rice setting.
Cycle through the setting twice. Your garbanzo beans will be al dente (still crunchy) after 1 cycle.
How to Cook Garbanzo Beans on the Stovetop (with photos)


1. In a large pot over high heat add 2 cups (400 g) of soaked garbanzo beans. Pour in 6 cups (1,420 ml) of water. Add additional water, if needed, to cover the beans by 1 inch or up to your first knuckle. Stir in 2 teaspoons of (optional) salt.


2. Cover and bring the beans to a boil. Reduce the heat enough to maintain a simmer with the lid on.
3. When the garbanzo beans begin to cook, they will produce foam. Skim the initial foam off with a spoon.


4. Cook for 90 minutes, checking for doneness after 60 minutes. The garbanzo beans are done when they can be easily mashed with a fork against the side of the pot. You can also pop a cooled bean in your mouth to check the texture. You want them soft but not mushy.
5. Rinse them under cold running water to remove any traces of foam or extra salt. Some of the skins will slide off and that’s okay. They are perfectly edible.
How to Store and Freeze
Storing chickpeas is super straightforward and great for meal prep. I love to cook a batch at the beginning of the week and dip into it for various recipes, especially if I’m having a Raw Cookie Dough emergency! If you’re into batch cooking, freezing portions is really practical and economical.
In the refrigerator:
Transfer cooled chickpeas to an airtight container or a resealable plastic bag. I find they are more user-friendly when stored without their cooking liquid. But they will store just fine in the liquid, too. They will keep fresh for 5 days.
In the freezer:
Drain, rinse, cool, and pat dry your cooked chickpeas. They won’t stick together when frozen. Then divide them into portions that you commonly use. Remember 1½ cups of cooked chickpeas equals 1 (15 oz) can. Transfer them to freezer-safe bags and remove as much of the air as possible. Label and date the bags before placing them in the freezer. Frozen chickpeas will keep for 6 months. Woohoo!
Expert Tips
Use fresh dried garbanzo beans- The bulk section in a natural grocer with a high turnover is often the freshest option. If buying bagged beans, double-check the expiration date.
Rinse the garbanzo beans after soaking *very* well to remove any traces of vinegar. Once they no longer smell like vinegar, you’re good to go.
Test for doneness before draining the cooking liquid. Do this by mashing a garbanzo bean against the side of the pot with a fork. Or pop a cooled bean in your mouth to see if it’s soft but not mushy. Nothing is more frustrating than dumping out a pot of hot cooking liquid only to discover your beans are still crunchy.
FAQs
What is aquafaba?
Aquafaba is the liquid in which legumes such as garbanzo beans have been cooked. It mimics the properties of eggs and is a *fabulous* egg alternative and binding ingredient in vegan baking. See aquafaba in action in my Almond Orange Biscotti and Black Bean Brownies!

Save the aquafaba! It can be used in vegan baking.
Does salt prevent dried garbanzo beans from cooking?
In my years of cooking beans using all these methods, I find that salt does not prevent dried garbanzo beans from cooking properly.
In fact, salt can help soften the skin of beans allowing them to cook more evenly and thoroughly. Salt also enhances their flavor, making them taste better.
It is important, however, not to add an acidic ingredient like tomatoes or vinegar to the cooking liquid. Acid can make the skins tough and prolong cooking time.
How many dried chickpeas are in a can?
One can of chickpeas (remember they come cooked) is approx. 1½ cups. This can vary from brand to brand. For example, a can of Field Day Garbanzo Beans contains 1¼ cups while Eden Garbanzo Beans contain 1¾ cups.

½ cup (100 g) of uncooked dry chickpeas = ~ 1 cup of cooked.
So, ¾ cup (150 g) of dry uncooked chickpeas = ~ 1½ cup cooked or one can.
How long do dried chickpeas last?
Good news! Dried chickpeas have a long shelf life if stored properly, 1-2 years! I actually cooked some leftover beans from Covid that were 3 years old, and they were totally edible. They will lose some of their nutritional value and flavor over time, so here are a few tips to maximize shelf life.
Store beans in a cool, dry place away from direct sunlight.
Use airtight containers to protect beans from moisture and pests. Glass jars and food-grade plastic containers are good options.
Keep beans in a stable environment. Temperature fluctuations can cause condensation, leading to mold growth or spoilage.
Are chickpeas good for you?
Oh yah, these little cuties are nutritional powerhouses! Chickpeas are protein-rich, high in fiber, packed with essential vitamins and minerals, including folate, iron, magnesium, phosphorus, and zinc. They also contain vitamins B6, C, E, and K. They are low in fat, promote bone health, and are rich in antioxidants! 👊🏼
Recipes to Make with Chickpeas
There are SO many ways to fall in love with chickpeas, here’s a few recipes to get you started.
Summer Couscous Salad with Lemon Vinaigrette
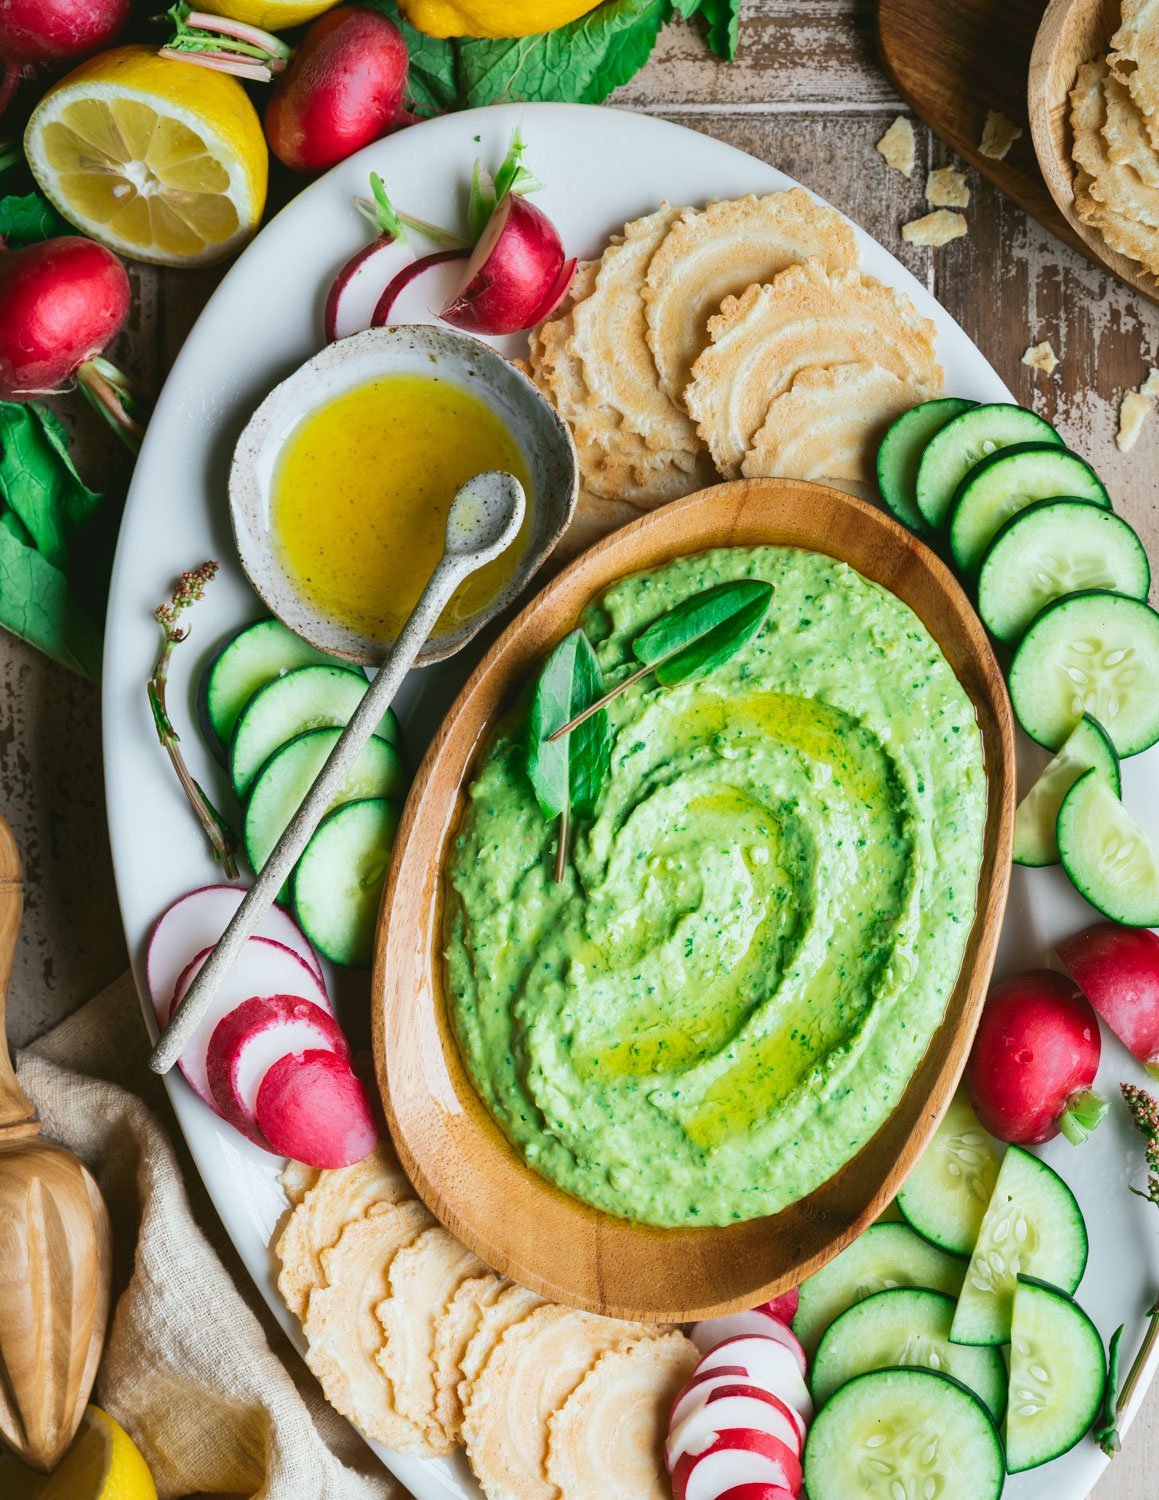
Sorrel Hummus This recipe is fabulous with white beans or garbanzo beans.

Thanks for nerding out over chickpeas with me. I’ll be back soon with, you guessed it, another chickpea recipe!
X,o,

")
How to Cook Dried Garbanzo Beans (3 Ways)
Ingredients
Instructions
- Give your chickpeas a quick going over and pick out anything suspicious. Chickpeas are green before they are dried, and you may find one or two mixed in. This is perfectly okay.
- Add the chickpeas to a large bowl with enough water to cover them by 2 inches. Pour in ¼ cup of vinegar. (or 2 tablespoons per cup of dried garbanzo beans) Any type of vinegar is fine. Stir to combine. You may hear cheerful snapping sounds as they hydrate.
- Let the chickpeas soak for 12-24 hours.
- Drain and rinse the chickpeas under cold running water until they no longer smell like vinegar. Cook them right away or store, covered, in the refrigerator for up to 5 days.
- Add 2 cups (400 g) soaked or unsoaked garbanzo beans to the cooking pot. Pour in 6 cups (1,420 ml) of water. Stir in 2 teaspoons of (optional) salt. Secure the lid.
- Select the pressure cooking setting at high pressure. Next, choose the amount of time you wish to cook the garbanzo beans. This is between 10-15 minutes for soaked beans and 35-40 minutes for unsoaked beans. My sweet spot for soaked is 12 minutes and 37 minutes for unsoaked.
- Once the pressure cooker comes up to temperature it will start the clock. You’ll know it’s finished when the clock is at zero followed by an audible signal.
- The quickest way to remove the lid is with a quick pressure release. Slide the pressure release tab or knob to release the pressure. It will steam like crazy so be prepared! The lid is ready to open when all the steam has escaped.
- Rinse the cooked garbanzo beans under cold running water to stop the cooking process and remove any extra salt. Some of the skins will slide off and that’s okay. They are perfectly edible.
- Follow the same general directions (scroll up) for a rice cooker as a pressure cooker.
- Choose the brown rice setting.
- Cycle through the setting twice. Your beans will be al dente (still crunchy) after 1 cycle.
- In a large pot over high heat add 2 cups (400 g) of soaked garbanzo beans. Pour in 6 cups (1,420 ml) of water. Add additional water, if needed, to cover the beans by 1 inch or up to your first knuckle. Stir in 2 teaspoons of (optional) salt.
- Cover and bring the beans to a boil. Reduce the heat enough to maintain a simmer with the lid on.
- When the garbanzo beans begin to cook, they will produce foam. Skim the initial foam off with a spoon.
- Cook for 90 minutes, checking for doneness after 60 minutes. The garbanzo beans are done when they can be easily mashed with a fork against the side of the pot. You can also pop a cooled bean in your mouth to check the texture. You want them soft but not mushy.
- Rinse the garbanzo beans under cold running water to remove any traces of foam or extra salt. Some of the skins will slide off and that’s okay. They are perfectly edible.
Notes
I use a standard 6-quart Instant Pot. This model can hold up to 4 cups of dried garbanzo beans with water filled to the “max” line. This recipe is for cooking 2 cups of dried chickpeas.
You must use soaked beans when using a rice cooker for them to cook all the way through.
How to Store and Freeze
In the refrigerator:
Transfer cooled chickpeas to an airtight container or a resealable plastic bag. I find they are more user friendly when stored without their cooking liquid. But they will store just fine in the liquid too. They will keep fresh for 5 days.
In the freezer:
Drain, rinse, cool, and pat dry. Dry chickpeas won’t stick together when frozen. Then divide them into portions that you commonly use. Remember 1½ cups equals 1 (15 oz) can. Transfer them to freezer-safe bags and remove as much of the air as possible. Label and date the bags before placing them in the freezer. Frozen chickpeas will keep for 6 months. Woohoo!
For step-by-step instructions with photos, faqs, and expert tips, scroll up to blog post.
Nutrition Facts
Calories
244Fat (grams)
4.03 gSat. Fat (grams)
0.42 gCarbs (grams)
40.42 gFiber (grams)
11.6 gNet carbs
28.82 gSugar (grams)
7.13 gProtein (grams)
12.87 gSodium (milligrams)
28.04 mgCholesterol (grams)
0 mgNutritional information is provided as a courtesy and is an estimate only. This information comes from online calculators.