Strawberry Chia Seed Jam with Maple Syrup
This Strawberry Chia Seed Jam with Maple Syrup is quick and simple to make with only 3 ingredients! It’s a delicious and healthy alternative to traditional jam. Bursting with flavor, low-sugar, and naturally vegan!
What is Chia Jam?
Folks, please be prepared to be amazed! Strawberry chia seed jam is a homemade fruit preserve that uses chia seeds as a natural thickening agent. It’s a delicious and healthy alternative to traditional jam which requires large amounts of sugar and often pectin for thickening. The chia seeds work like magic, and I can’t wait for you to try it!
When my kids were growing up, every summer we would make an annual pilgrimage to our local u-pick berry farm and harvest strawberries for homemade jam. We’d all come back sticky and happy. I’d get to work destemming and slicing and soon there’d be fragrant strawberries bubbling away on the stove. The smell is baked into my memory. It smells like home.
I still enjoy picking strawberries, usually from my garden. My favorite recipe to create with these ruby red gems now is strawberry chia seed jam. Here’s why I love it so much:
Healthy- Made without refined sugar and with nutrient-dense chia seeds.
Low sugar- It’s naturally sweetened with ripe strawberries and maple syrup.
3 ingredients- All you need are strawberries, chia seeds, and maple syrup!
No canning- Chia jam is perfect for small batch, fuss-free instant vegan jam.
Vegan- All the ingredients are naturally vegan!
3 Ingredients You’ll Need
You’ll find the ingredient list with measurements and instructions in the recipe card at the bottom of this post. But let’s take a look at each one and why it’s important.
Strawberries – For the sweetest chia jam, use very ripe strawberries.
Chia seeds – These little powerhouses of nutrition are the magic thickening agent. Use whole chia seeds which you can find in your natural grocer. They come packaged or in the bulk section.
Maple syrup – My favorite sweetener! Use pure maple syrup. Flavored pancake syrups will give your chia jam an unnatural taste.
How to Make Strawberry Chia Seed Jam (with photos)
When you’re ready to make this recipe, scroll down to the recipe card at the end of this post. You’ll find the complete ingredient list with measurements there.
1. In a small cooking pot over medium-high heat, add your strawberries and maple syrup. Stir to coat the berries and bring to a simmer.
2. Cook for 2 minutes to soften the berries. Then use a potato masher to gently crush the bubbling strawberries into a soft, fragrant, pulpy mass.
3. Cook for an additional 4-5 minutes, adjusting the heat as needed to maintain a simmer. You want the berries to bubble and foam but not climb up the sides of the pot. Drag a spoon across the bottom to ensure there is no sticking. The jam will thicken and reduce as it cooks but still look runny.
4. Pour the chia seeds over the strawberries and stir to combine. Continue to simmer and gently stir for 2 more minutes. The chia seeds will puff up, absorb some of the strawberry juice, and begin to gel.
5. Slide the pot off the heat. Let the chia jam cool for 10 minutes before transferring to a heat-proof container. Cool completely to thicken. Store, covered, in the refrigerator for up to a month. Makes ¾ cup. Enjoy!
How to Store
Just like traditional jam, chia jam keeps well when stored in an airtight container and refrigerated, for up to a month!
Chia jam stores so well in the fridge that I have never frozen it. I feel it will keep in the freezer in an airtight freezer-friendly container for 3 months. Just be sure to cool your jam completely first.
FAQs
Is chia jam healthy?
Short answer…Yes, yes it is! Strawberry chia seed jam is low-sugar, gluten-free, oil-free, and naturally vegan.
Chia seeds are rich in soluble fiber and protein. You don’t have to grind them. They are bioavailable as whole seeds.
Most of the sweetness in chia jam comes from ripe strawberries with a little help from pure maple syrup. This sweetens the jam without the usual large amounts of refined sugar.
No preservatives. If you’ve ever flipped over a jar of store-bought jam and cringed reading the long list of artificial ingredients, you’ll love that chia seed jam has none!
Can I make chia jam with frozen strawberries?
You bet! Thaw frozen strawberries before making this recipe. Then drain the extra liquid. (I save mine for smoothies!) Frozen berries have additional juice which will require a slightly longer cooking time for thick jam.
Can I use other berries in this jam recipe?
Absolutely! Berries that have visible seeds and are a vibrant color will make pretty jam. Here’s what I have tried that works well:
Raspberries
Blueberries
Mixed berries (strawberries, raspberries, blackberries, blueberries)
Can this recipe be made without sweetener?
You can skip the sweetener all together keeping in mind that the chia jam will be less sweet. A fun and healthy alternative to maple syrup you might like is date syrup. This is made exclusively from dates.
Can I feed this to my baby or toddler?
Feel good knowing your little one is eating a pure fruit spread.
Keep in mind that chia seeds are gelatinous, and the jam should be mixed with another food like baby cereal or vegan yogurt to prevent a choking risk.
Toddlers can safely eat chia seed jam spread on toast or as a topping for pancakes.
Serving Suggestions
This vegan strawberry jam tastes amazing with all your favorite jam-friendly foods. Like really, the skies are the limit!
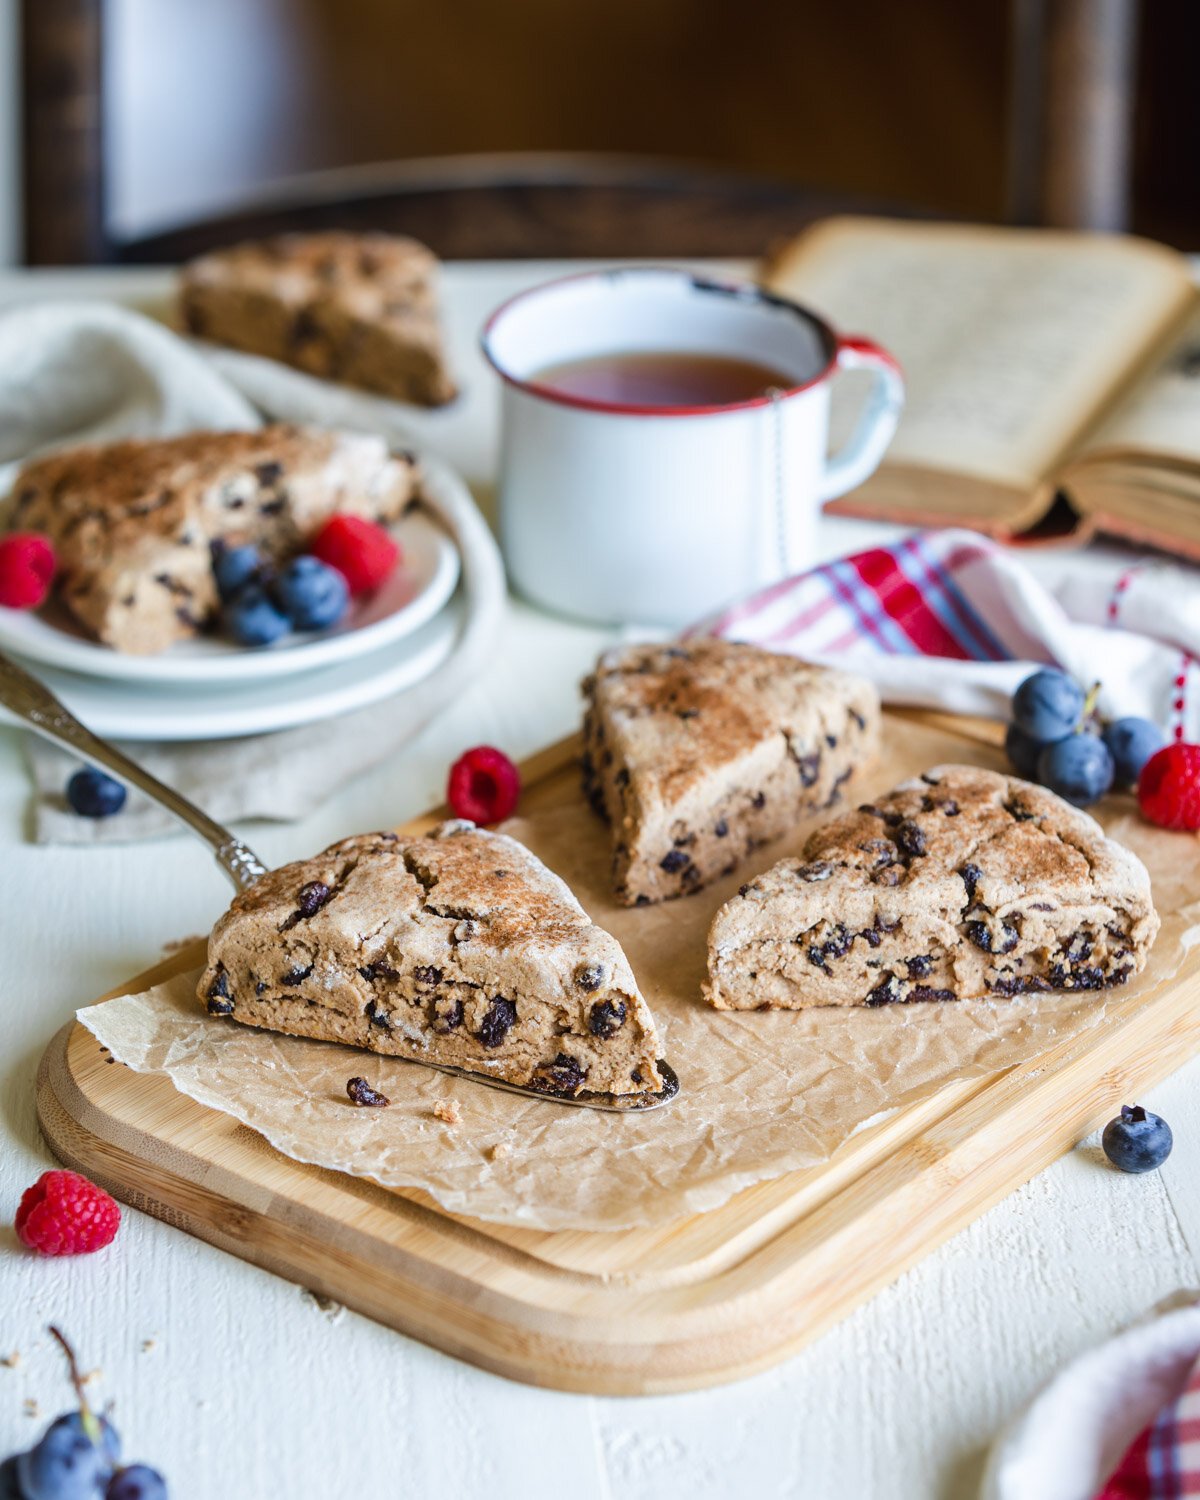
Spread on warm Cinnamon Current Scones.
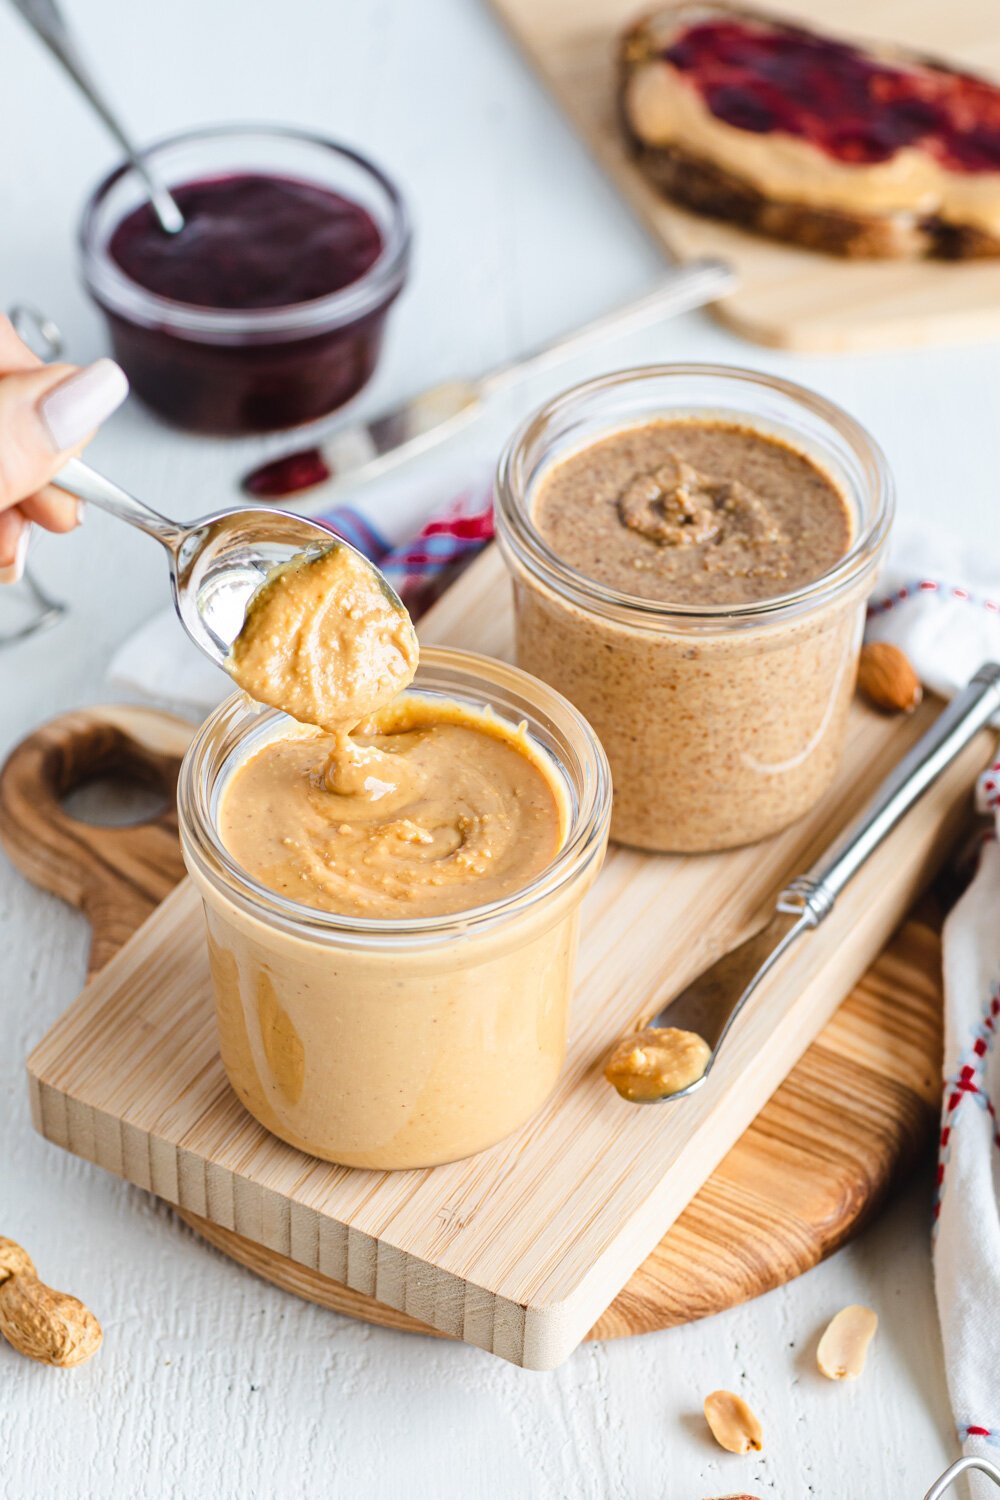
Pair with Homemade Peanut and Almond Butter for the best PB&J ever!
Spoon over Avocado Chocolate Mousse. Because… chocolate and strawberries!
Double up the protein and layer with Chocolate Chia Seed Pudding.
Swirl into Homemade Tofu Yogurt.
Dollop on Chocolate Chip Mini Muffins.
The sweet aroma of bubbling strawberry jam is one of the best summery smells. I love making it when my kids visit! It always reminds them of youthful days spent in the u-pick fields. It’s quick super yummy, and I have to admit, a whole lot easier than canning!
Have the best sunny July. I’ll be back after my trip to France with a fun chickpea and pasta recipe!
X,o,

Strawberry Chia Seed Jam with Maple Syrup
Ingredients
Instructions
- In a small cooking pot over medium-high heat, add your strawberries and maple syrup. Stir to coat the berries and bring to a simmer.
- Cook for 2 minutes to soften the berries. Then use a potato masher to gently crush the bubbling strawberries into a soft, fragrant, pulpy mass.
- Cook for an additional 4-5 minutes, adjusting the heat as needed to maintain a simmer. You want the berries to bubble and foam but not climb up the sides of the pot. Drag a spoon across the bottom to ensure there is no sticking. The jam will thicken and reduce as it cooks but still look runny.
- Pour the chia seeds over the strawberries and stir to combine. Continue to simmer and gently stir for 2 more minutes. The chia seeds will puff up, absorb some of the strawberry juice, and begin to gel.
- Slide the pot off the heat. Let the chia jam cool for 10 minutes before transferring to a heat-proof container. Cool completely to thicken. Store, covered, in the refrigerator for up to a month. Enjoy!
Notes
How to Store
Just like traditional jam, chia jam keeps well when stored in an airtight container and refrigerated, for up to a month!
Chia jam stores so well in the fridge that I have never frozen it. I feel it will keep in the freezer in an airtight freezer-friendly container for 3 months. Just be sure to cool your jam completely first.
FAQs
Can I make chia jam with frozen strawberries?
You bet! Thaw frozen strawberries before making this recipe. Then drain the extra liquid. (I save mine for smoothies!) Frozen berries have additional juice which will require a slightly longer cooking time for thick jam.
Can I use other berries in this jam recipe?
Absolutely! Berries that have visible seeds and are a vibrant color will make pretty jam. Here’s what I have tried that works well:
- Raspberries
- Blueberries
- Mixed berries (strawberries, raspberries, blackberries, blueberries)
Can this recipe be made without sweetener?
You can skip the sweetener all together keeping in mind that the chia jam will be less sweet. A fun and healthy alternative to maple syrup you might like is date syrup. This is made exclusively from dates.
For step-by-step instructions with photos, scroll up to blog post!
Nutrition Facts
Calories
35.51Fat (grams)
0.69 gSat. Fat (grams)
0.07 gCarbs (grams)
7.2 gFiber (grams)
1.17 gNet carbs
6.03 gSugar (grams)
5.19 gProtein (grams)
0.49 gSodium (milligrams)
1.16 mgCholesterol (grams)
0 mgNutritional information is provided as a courtesy and is an estimate only. This information comes from online calculators.

Signature Cinnamon Rolls from Buena Luz Bakery
Ingredients
Instructions
- Weigh the flour in a medium-sized mixing bowl set on top of a kitchen scale. Add the salt and yeast and whisk it all together. Set aside.
- In a large mixing bowl pour the water followed by the oil, honey, and eggs. Whisk until smooth.
- Gradually add the flour to the liquid until it becomes difficult to mix. Turn it out onto a lightly floured work surface.
- Knead dough until smooth and tacky but not sticking to your hands. Add small amounts of flour if the dough feels too sticky to work with.
- Turn the dough into a large, lightly oiled mixing bowl, flipping it once so that it’s oily on all sides. Cover with a clean, lint-free towel, and let it rise in a warm place for 1 hour or until doubled in bulk.
- Deflate the dough by gently pressing it down with your hand. Roll the dough on a lightly floured work surface into an 18” x 12” rectangle. If it keeps shrinking back, let it rest for 10 minutes and roll again.
- Spread the entire surface of the dough with soft butter. Sprinkle the butter with cinnamon sugar. The layer of sugar will be generous.
- Starting at the long end closest to you, roll the dough into an 18” log, pressing very lightly as you go. Make 2” guide marks along the top of the dough with a knife for a total of 9 buns. Carefully slice the log into 9 buns. Flip them on their cut side.
- Tuck the outside flap under the bottom of the bun pushing the coils up slightly to create a flower effect. Place face up in a buttered 9” x 12” baking pan with room in between to proof.
- Cover lightly with oiled plastic wrap and let proof in a warm place until the buns are puffy and touching, 60-90 minutes. You’ll know they’re ready when a finger dent slowly bounces back into place.
- Preheat oven to 350°F. Bake for 10 minutes. Then rotate the baking pan and bake for an additional 10 minutes. You’ll know it’s done when the internal temperature reaches 200°F and the rolls are golden brown with sticky hot cinnamon sugar.
- Make the frosting by creaming the cream cheese and butter together. Gradually incorporate the powdered sugar and mix until fluffy.
- Let cool completely before frosting and enjoy!
Nutrition Facts
Calories
495.53Fat (grams)
21.2 gSat. Fat (grams)
11.53 gCarbs (grams)
69.19 gFiber (grams)
2.77 gNet carbs
66.43 gSugar (grams)
33.02 gProtein (grams)
9.02 gSodium (milligrams)
490.41 mgCholesterol (grams)
84.99 mgNutritional information is provided as a courtesy and is an estimate only. This information comes from online calculators.


