
Instant Pot Soy Milk Yogurt Recipe
Learn how easy it is to make soy milk yogurt in an Instant Pot! This vegan yogurt recipe is thick, creamy, and high in protein. Made from just two ingredients, it’s budget-friendly and tastes just like plain store-bought yogurt!
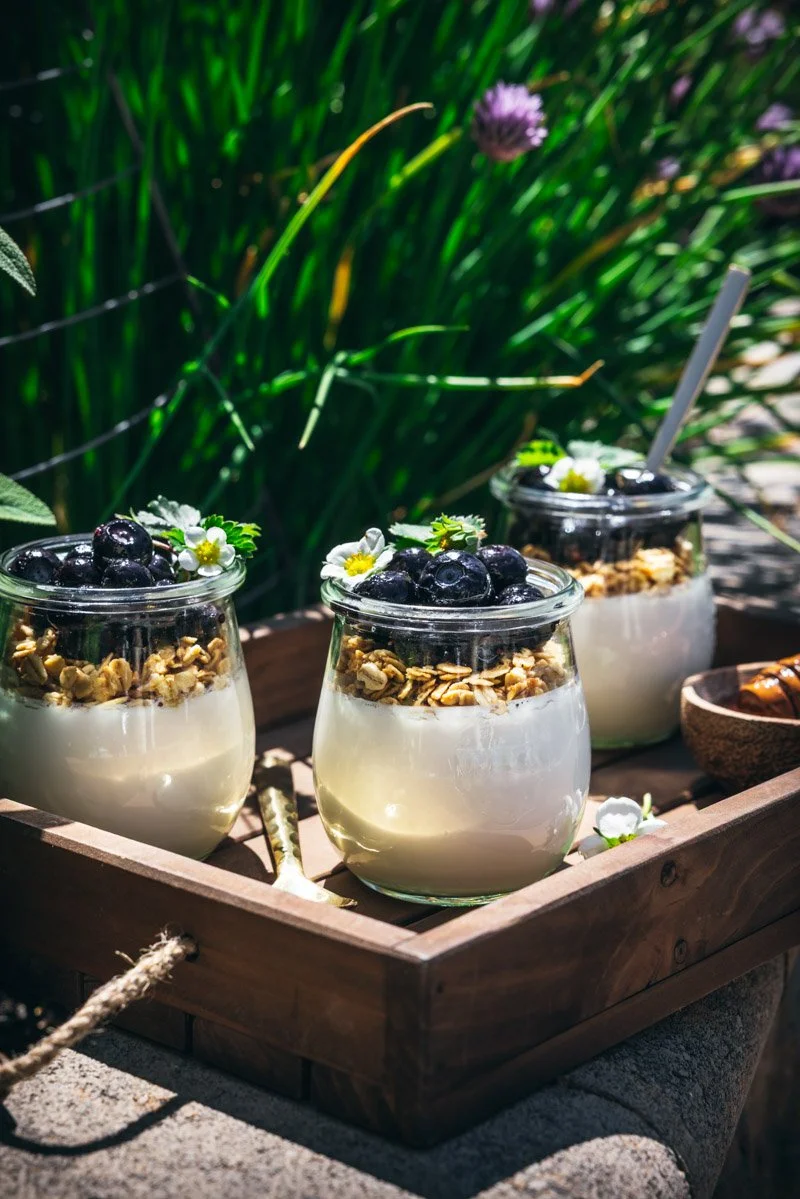
⭐️ 3 Secrets to Foolproof Homemade Vegan Yogurt
I’ve made it my mission this year to make homemade soy milk yogurt with as little fuss as possible. It must be thick, it must be creamy, it must be simple to serve. Happily, after making a dozen batches using the same culture in an Instant Pot, I’m excited to share these 3 secrets to guide you on your homemade vegan yogurt journey!
1️⃣ Use a thriving culture.
Yogurt relies on live, active cultures to ferment the soy milk, creating a tangy flavor and creamy texture. When the culture is thriving, the yogurt sets more reliably and develops better flavor and texture. You don’t need probiotic powder, just 2 tablespoons of plain vegan yogurt.
2️⃣ Keep the temperature constant.
Yogurt cultures thrive in steady warmth, which helps them ferment the soy milk evenly and develop a creamy texture that’s well set. This temperature is right around 105°F. Your Instant Pot yogurt setting is automatically set to 106°F.
3️⃣ Sterilize your equipment.
We’ve all heard of good bacteria and bad bacteria. Sterilizing your equipment helps ensure that only the good bacteria get a chance to do their work. This process is quick and simple. Pour boiling water into your single-serving glass yogurt jars and plop in your equipment. After a few minutes, it’s clean!
💪 How to Maintain a Thriving Culture
Your yogurt culture is 2 tablespoons of your latest batch of homemade yogurt, or the same amount of plain, vegan, store-bought yogurt.
It will stay healthy and strong for 7-10 days in the refrigerator. If you need more time between batches, freeze it. It will continue to thrive after thawing.
After making many batches using the same culture, you may notice the texture is less creamy and the flavor profile changes. This means your culture is getting weak. That’s okay! Start a new batch with store-bought yogurt or previously frozen homemade yogurt. You can keep the leftovers in the freezer just in case you need to use them again.
🔖 Simple Ingredients
You’ll find the complete ingredient list with measurements and instructions in the recipe card at the bottom of this post.

Just like my homemade soy milk, this recipe is made from 2 simple ingredients.
🥛 Plain unsweetened organic West Life soy milk or homemade soy milk. Edensoy unsweetened organic soy milk will work too.
🍦Plain plant-based yogurt with a live culture (store-bought or homemade) See Note
💦 Warm water (105°F) for a warm water bath in the Instant Pot
Note:
The first time you make this recipe, get started with store-bought plain vegan yogurt. This yogurt must have live cultures and is your vegan yogurt starter. You’ll only need 2 tablespoons, so freeze the leftovers. After you make your first batch, save 2-3 tablespoons of homemade vegan yogurt as the starter for your next batch.
🥣 Equipment You’ll Need
An Instant Pot with the yogurt setting
Medium-sized cooking pot with a lid
Boiling water for sterilizing
Spatula for stirring
Boiling water for sterilizing
Glass jars, such as 4 Mason jars or 6 Weck tulip jars
A kitchen thermometer
Measuring spoon
A whisk
A funnel
🍦 How to Make Soy Milk Yogurt in an Instant Pot (with photos)
When you’re ready to make this recipe, scroll down to the recipe card at the end of this post. You’ll find the complete ingredient list with measurements there.
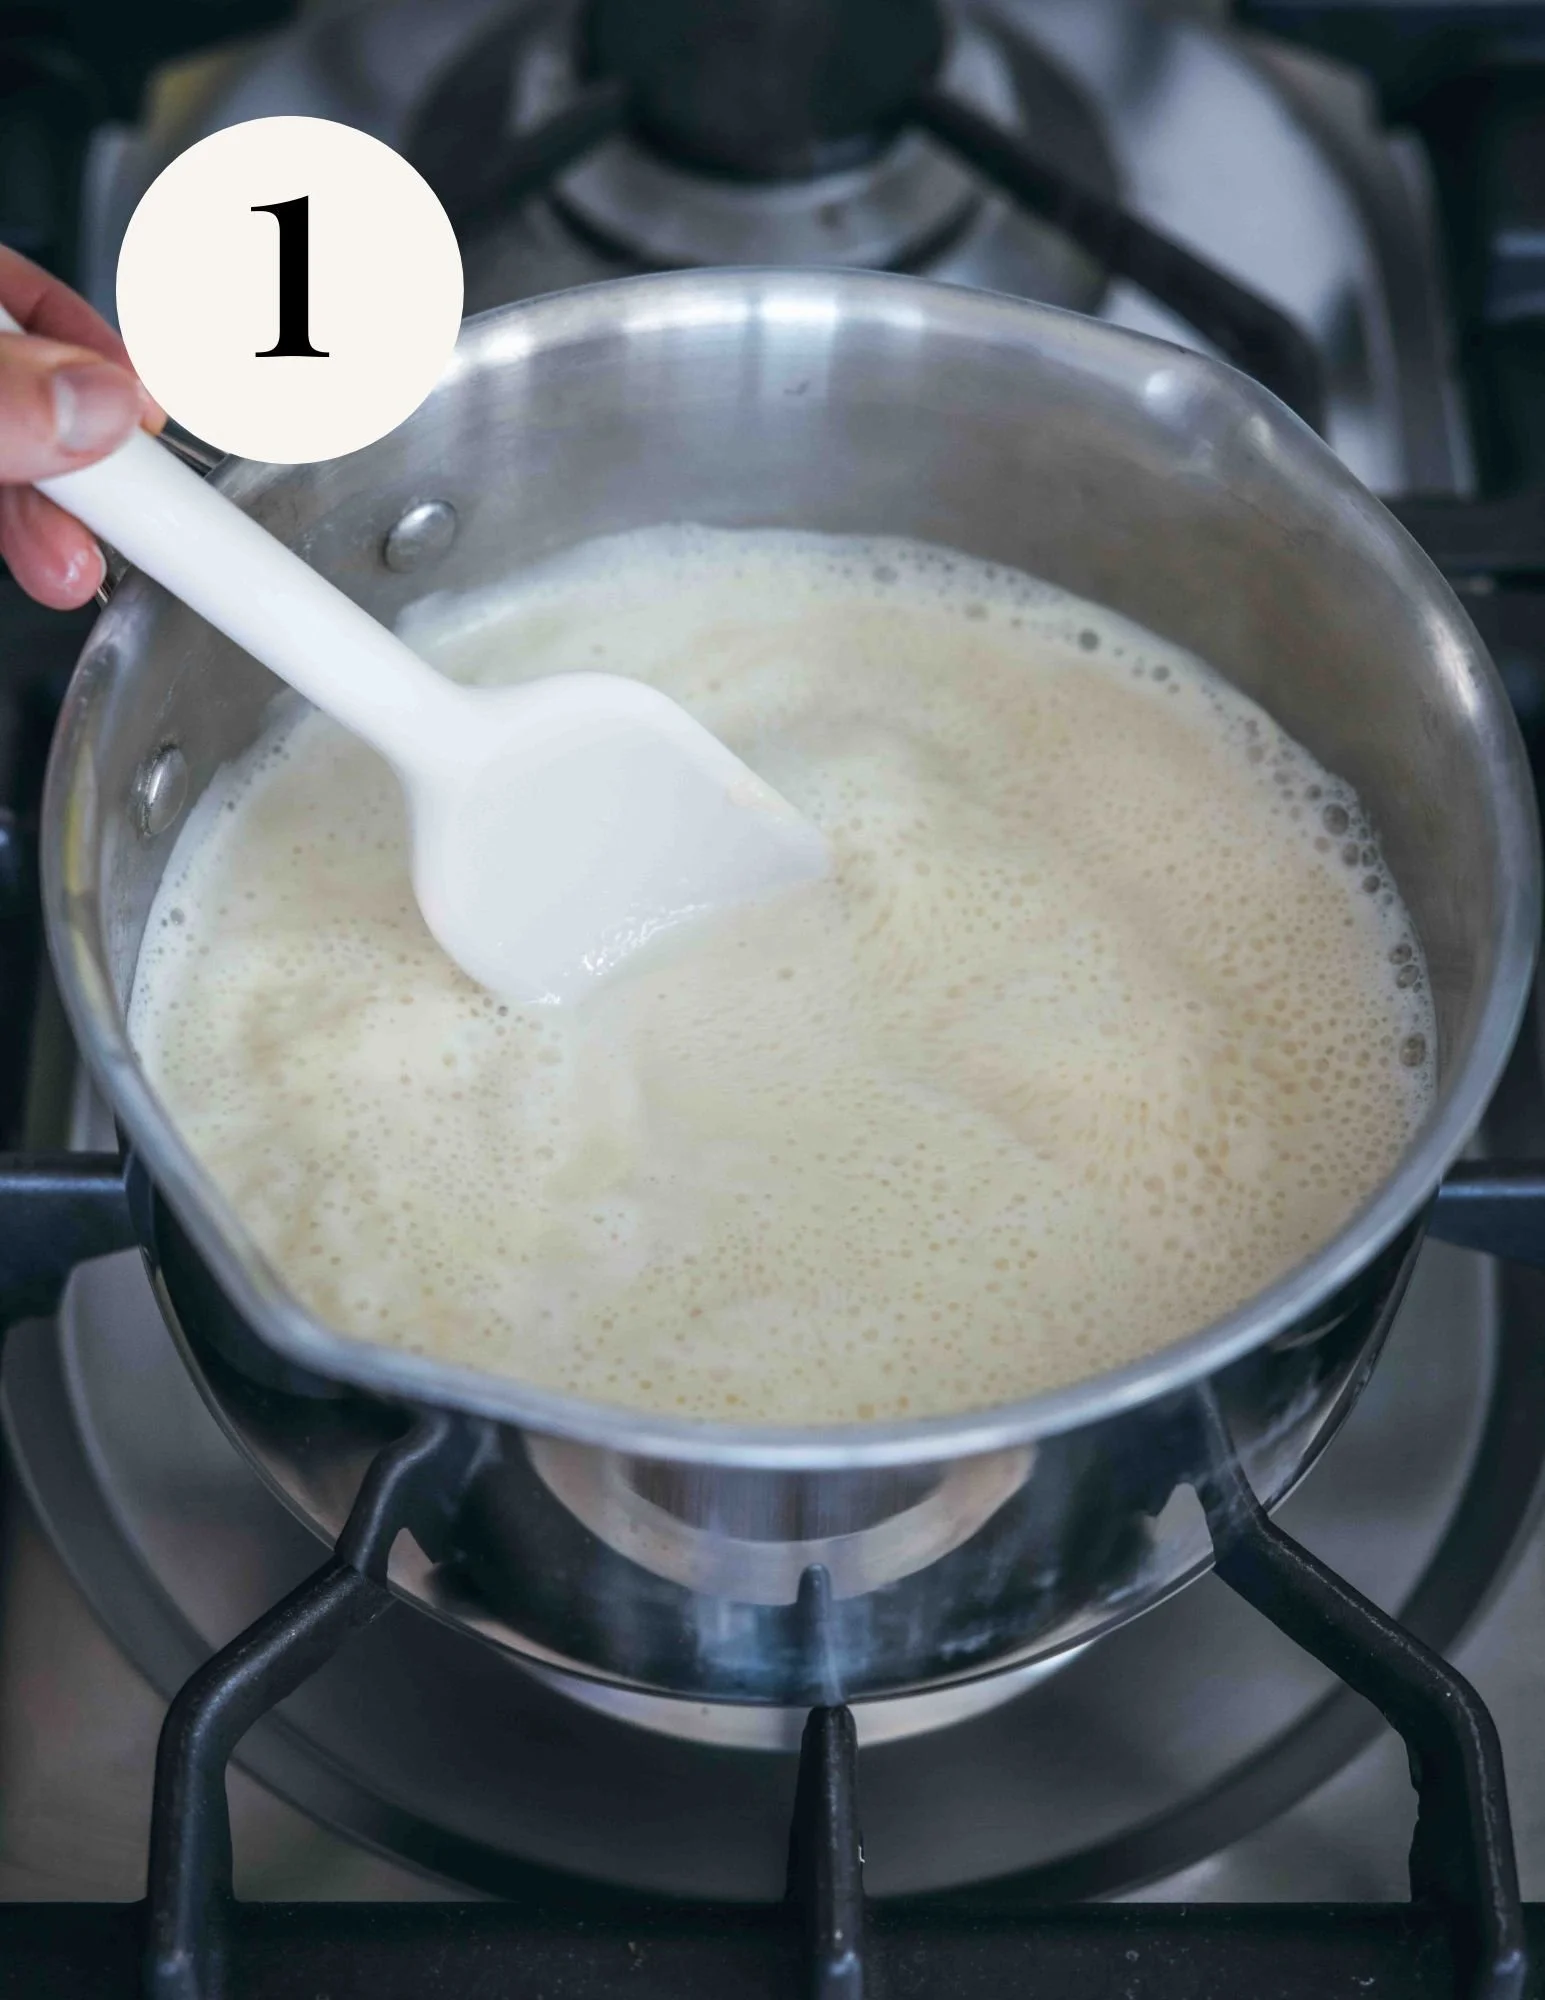

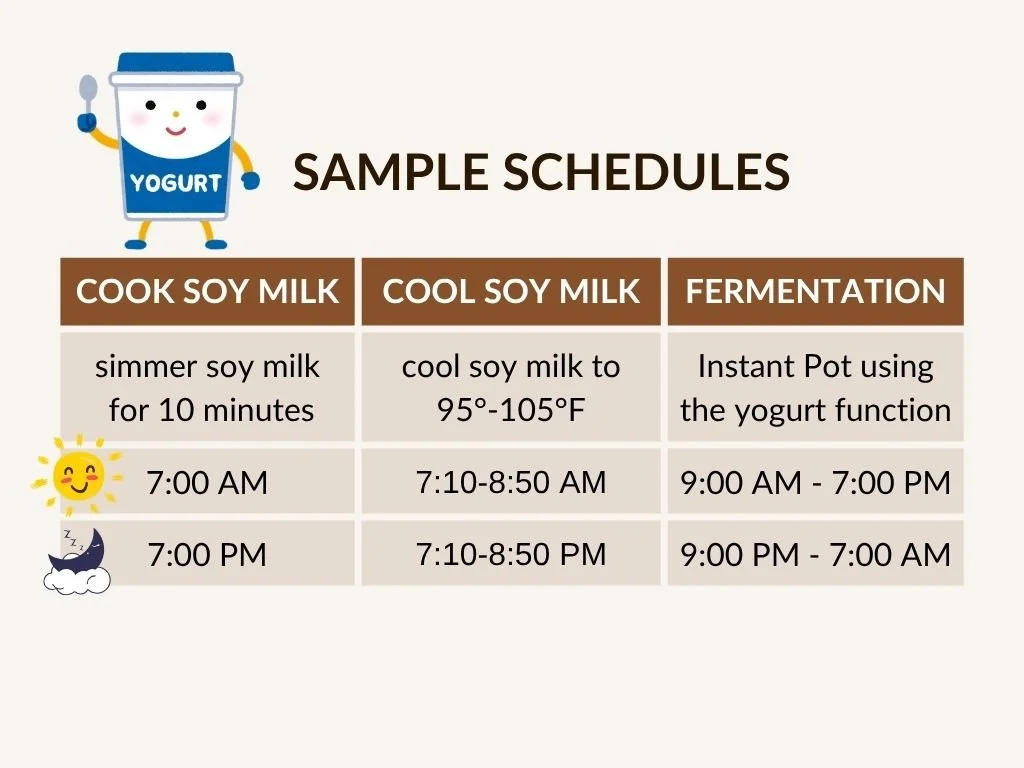
1. Pour in the full box of plain unsweetened organic soy milk into a medium saucepan or cooking pot over medium-high heat. You can do this with the lid on or off. Bring to a simmer. Once simmering, reduce the heat to maintain a gentle simmer. Cook the soy milk for 10 minutes, stirring occasionally. Stick close by the stove as it will tend to boil over the moment you step away.
2. Remove the pot from the heat and let it cool, with the lid on (to prevent a skin from forming on the top) until it reaches between 95°-105°F.
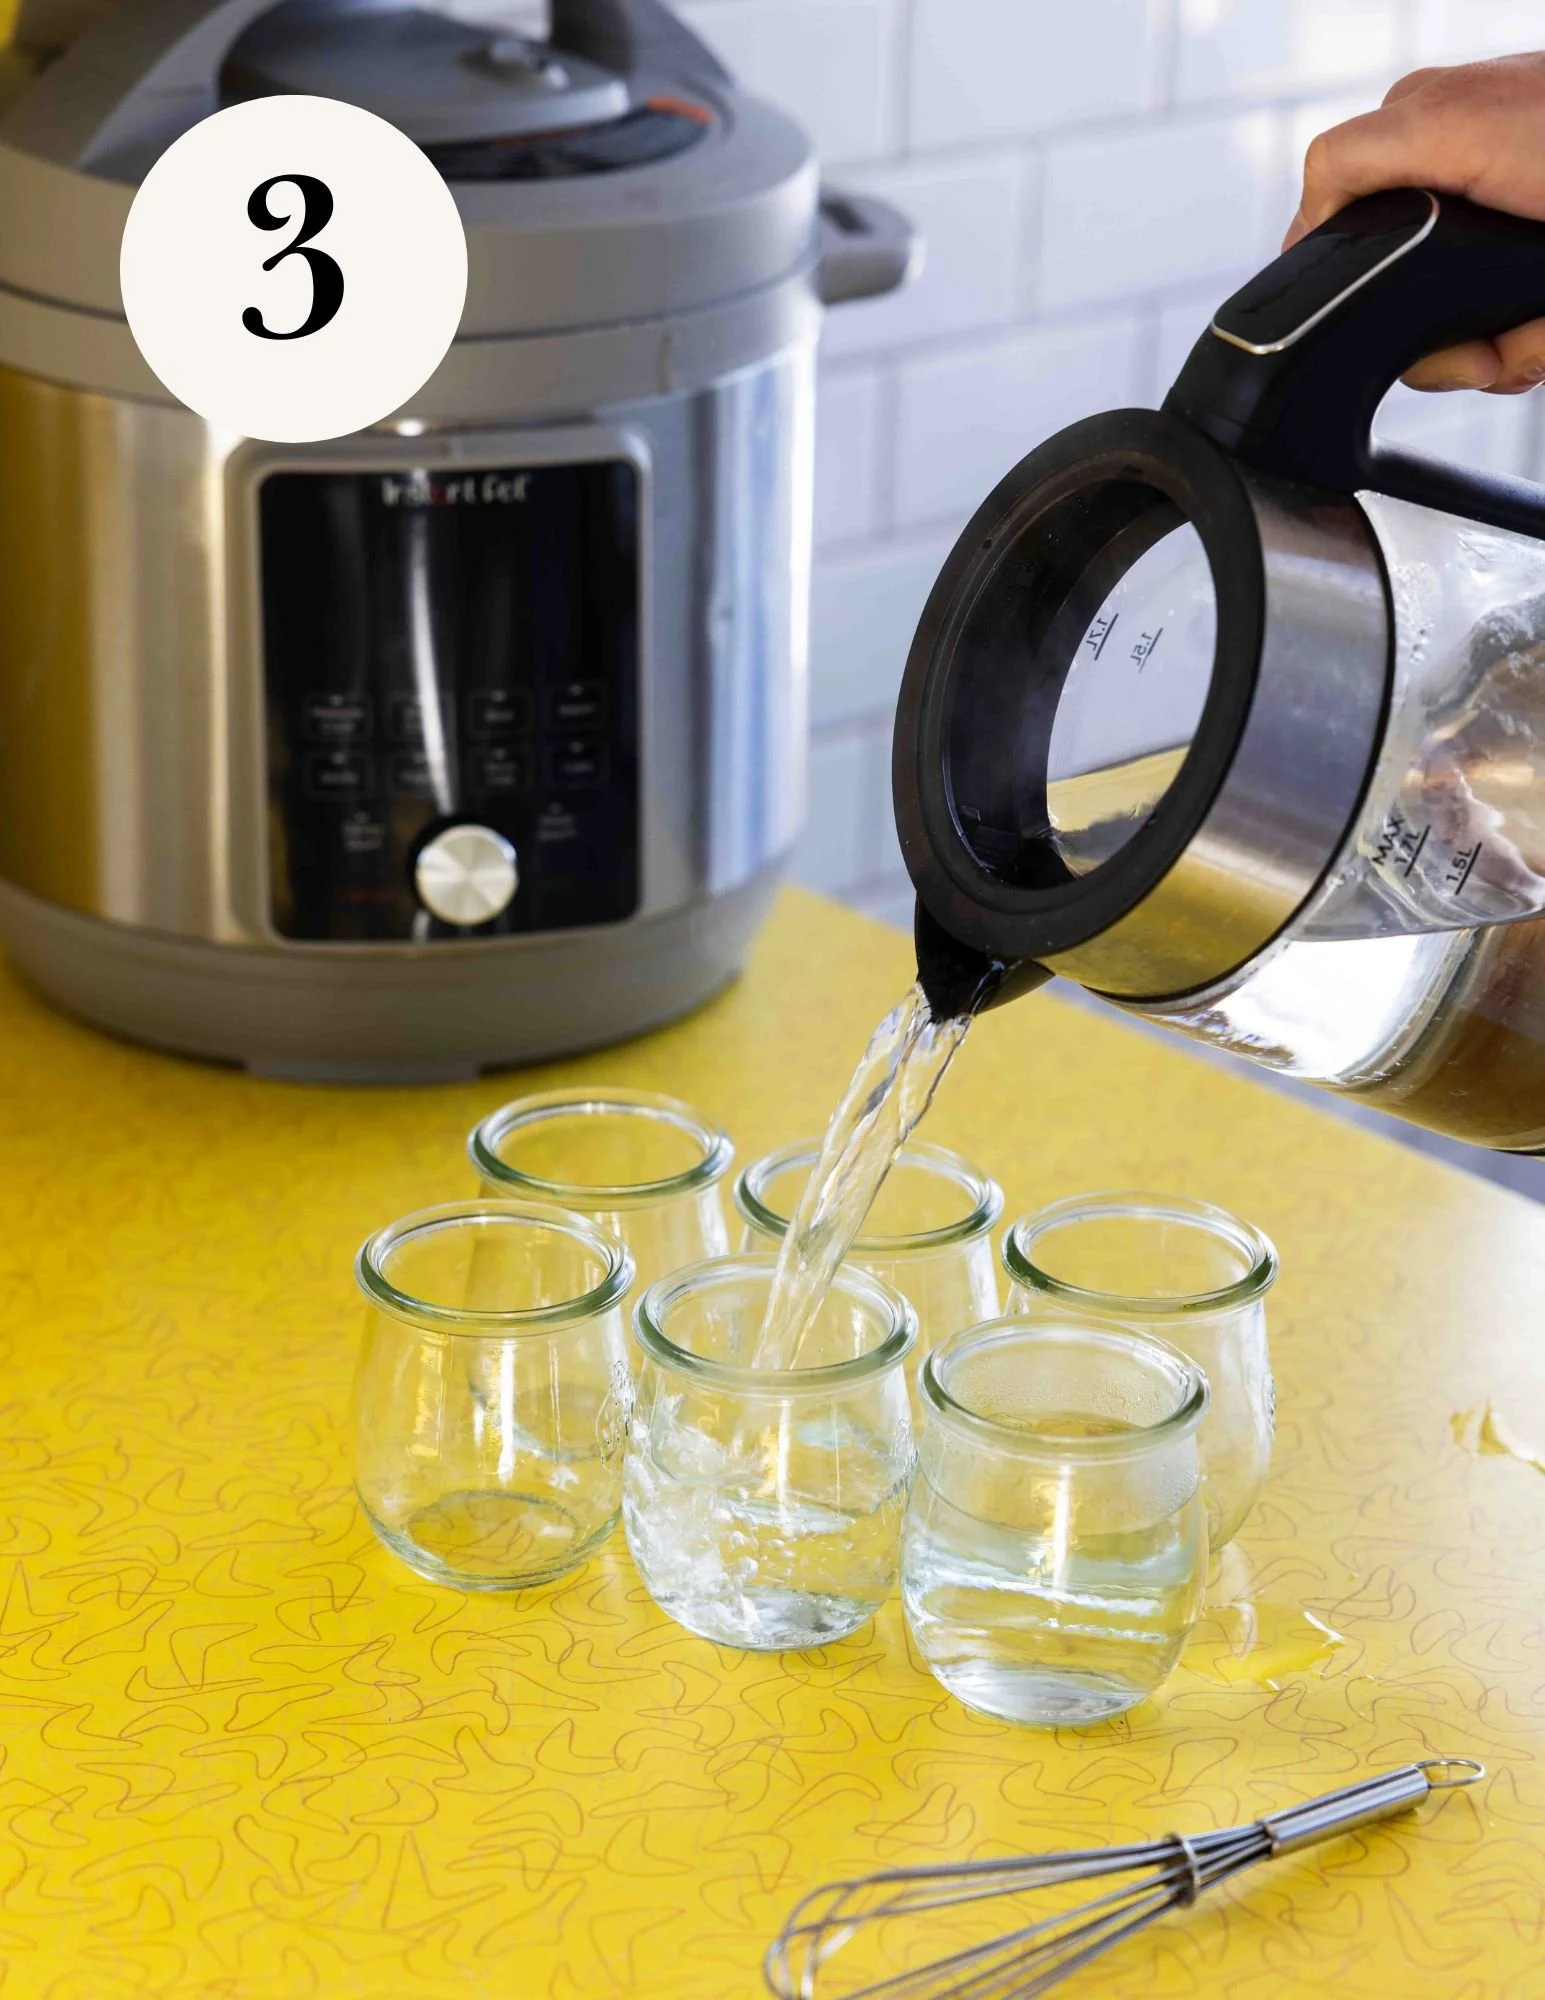

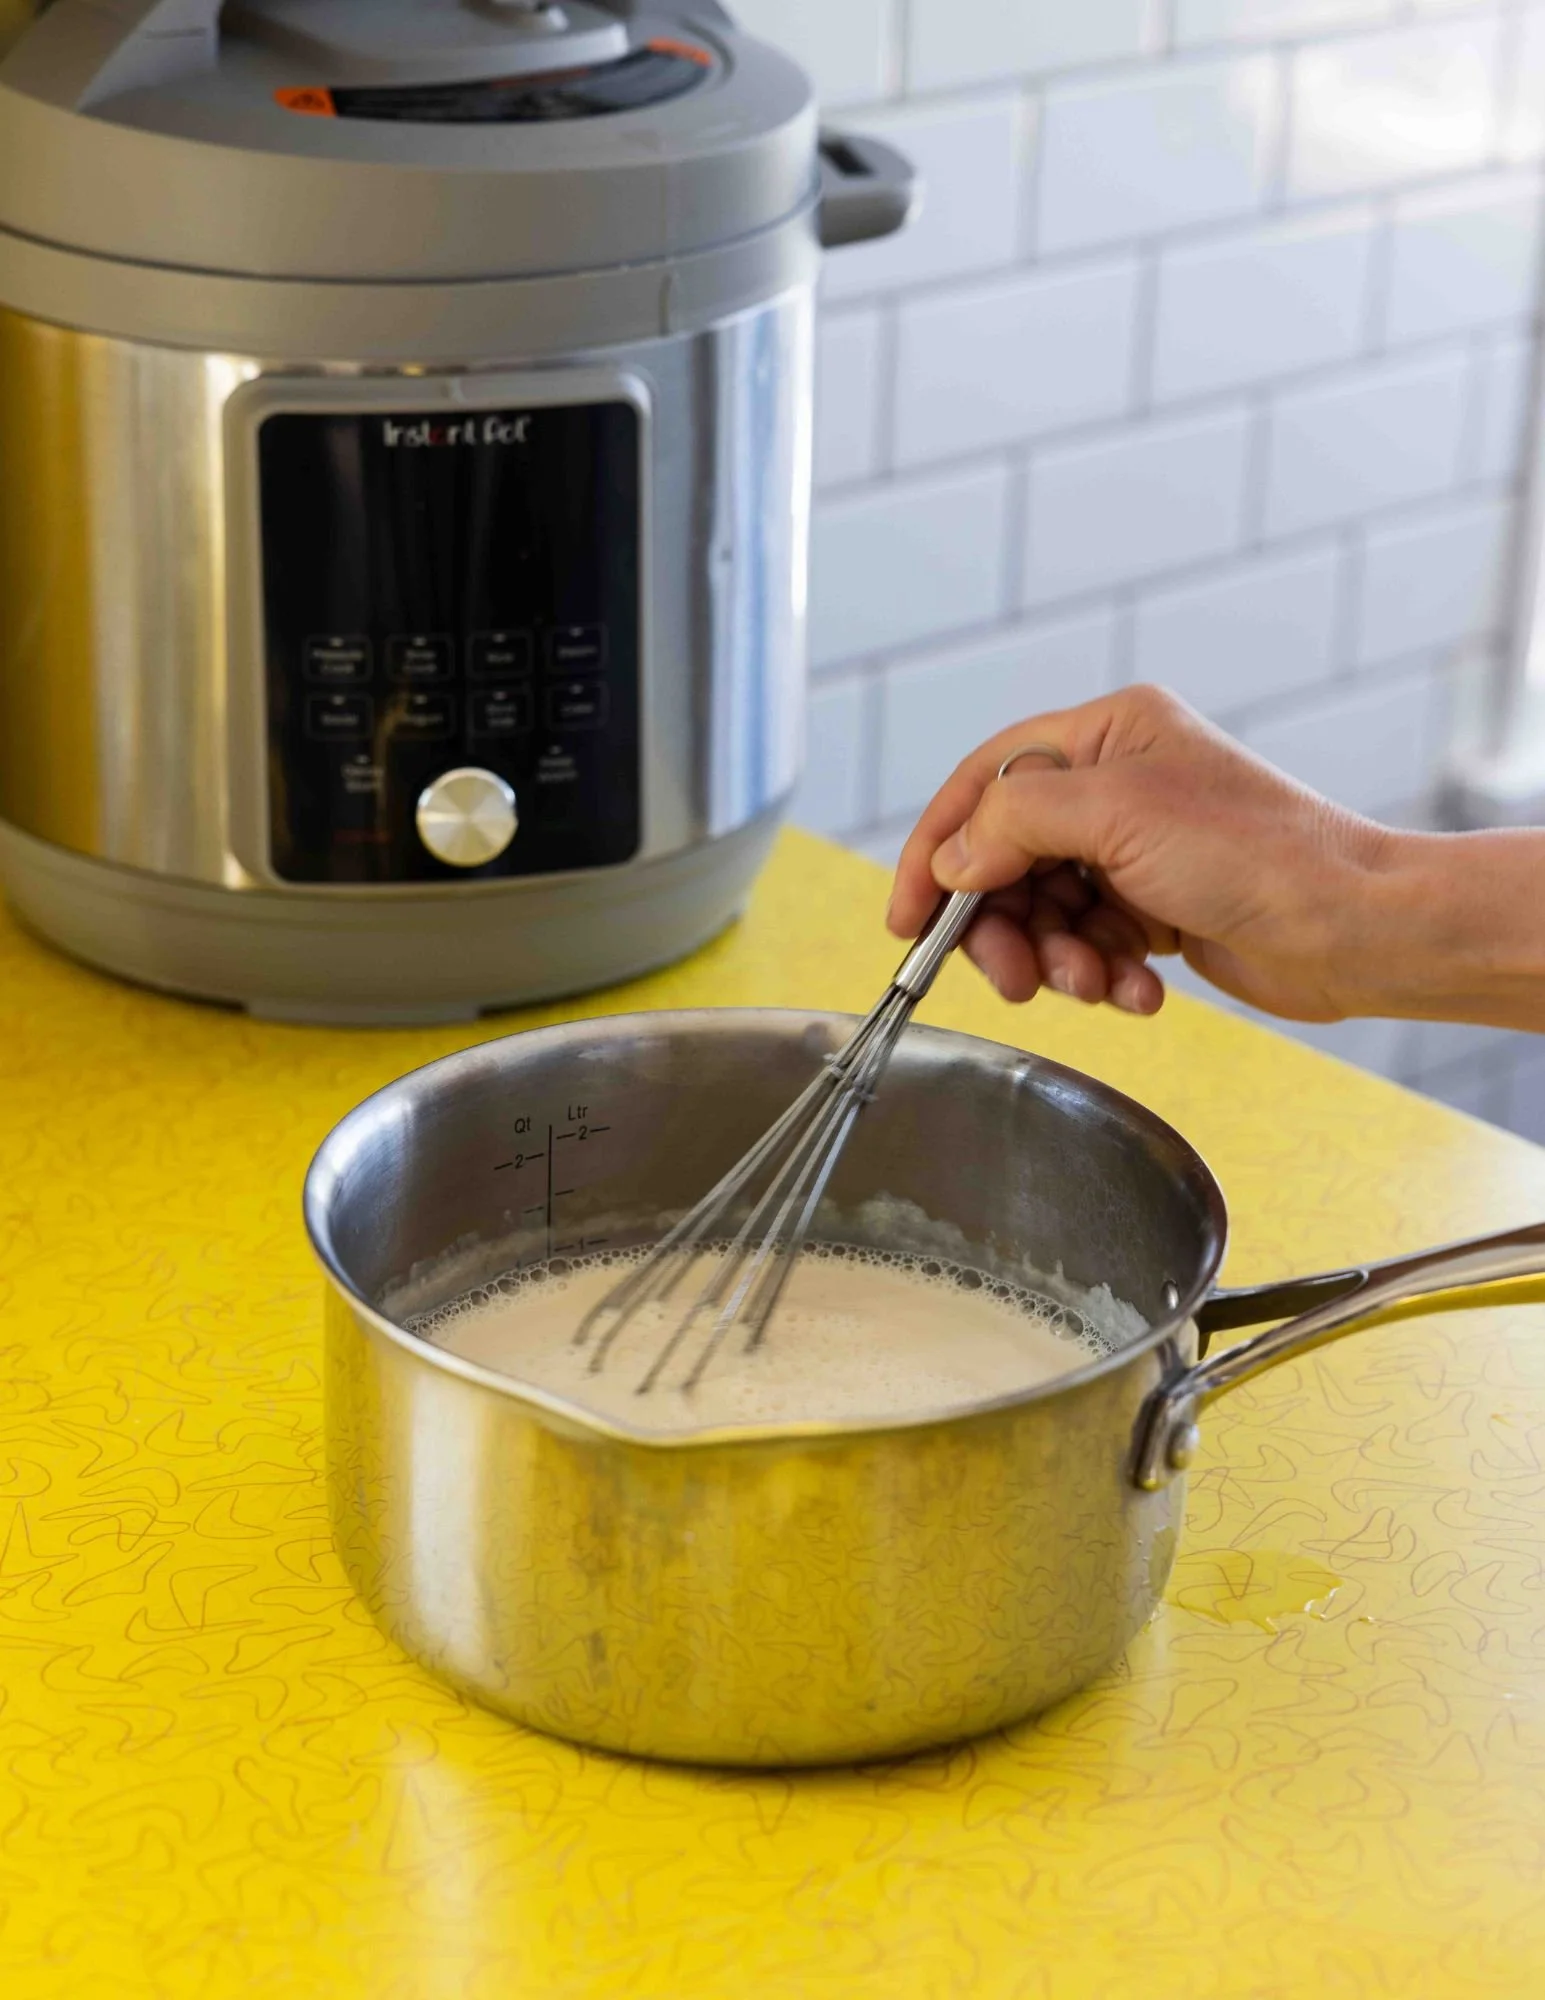

3. While the soy milk is cooling, you will need to sterilize your equipment. Bring ~ 2 quarts of water to a boil. Pour it into the glass jars. Put the whisk, the kitchen thermometer, the measuring spoon, and the funnel tip in the jars, too. There is no need to sterilize your Instant Pot; just make sure it’s clean. After a few minutes, dump the water out of the jars.
4. Once the soy milk is between 95°-105°F, whisk in 2 tablespoons of cultured plain plant-based yogurt until no lumps remain.
5. Use the funnel to carefully pour the milk mixture evenly between your prepared jars, leaving a little headroom for toppings. You may need 4 to 6 jars, depending on their size and the size of your Instant Pot. I use 6 Weck tulip jars which fit perfectly in a standard-size Instant Pot.

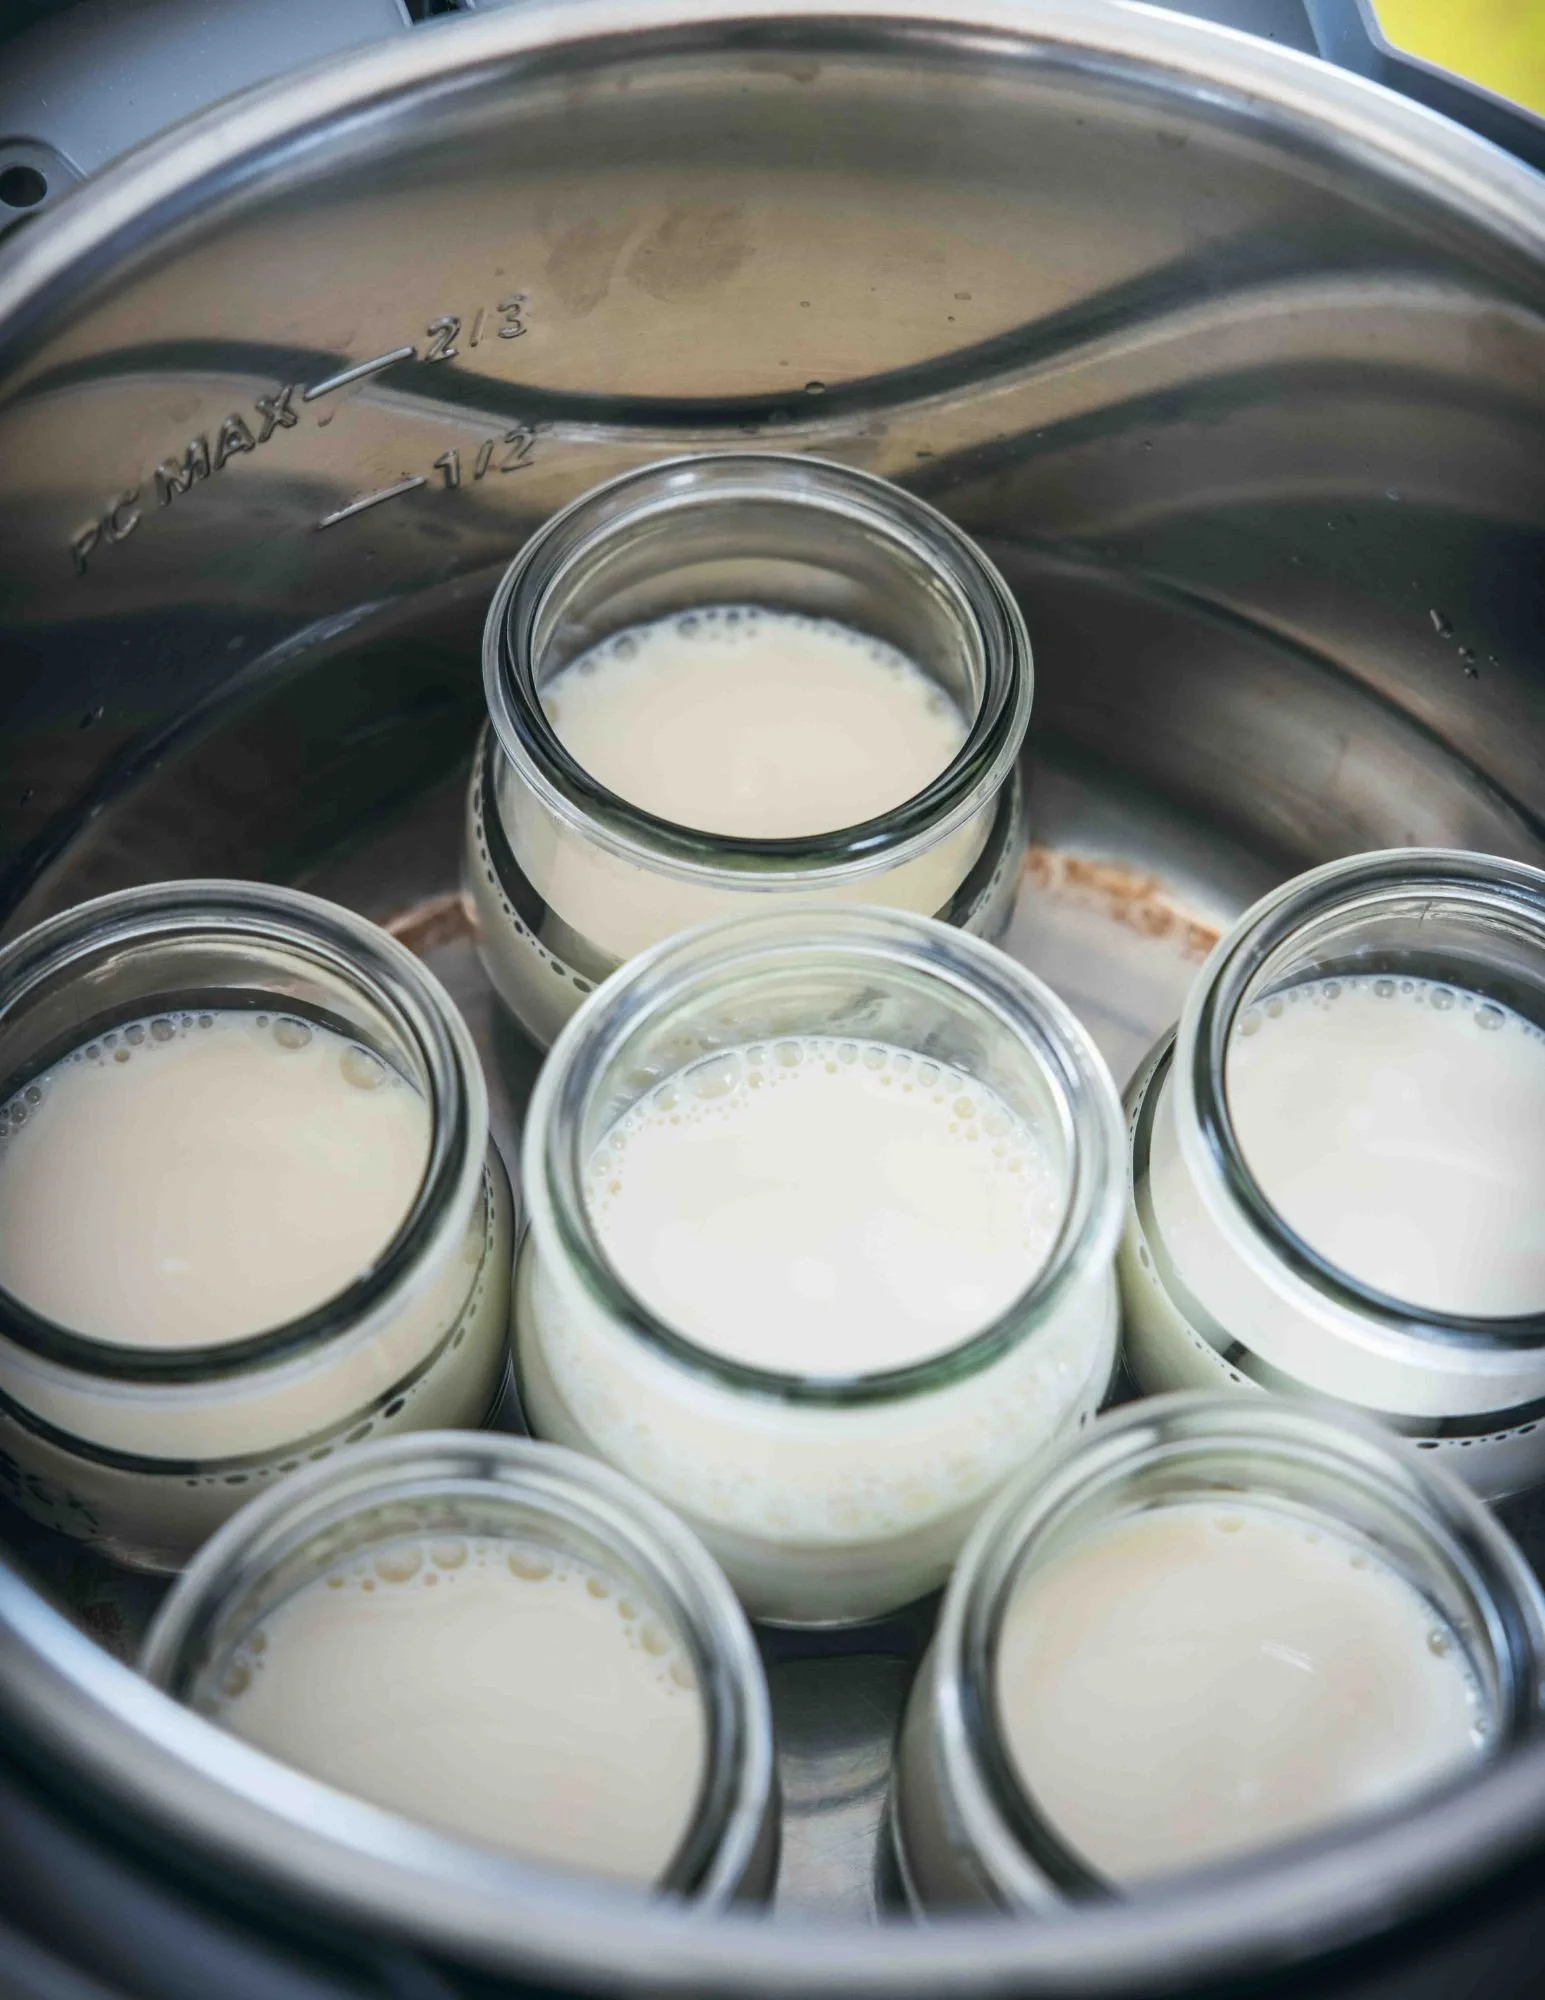
6. Make a warm water bath inside the Instant Pot. Pour warm water, ~ 105°F, into the inner pot until it is about ½-1 inch high. Carefully place each filled jar in the water bath, making sure the water does not spill over into the jars. The water should be as high as the soy milk mixture, not higher.
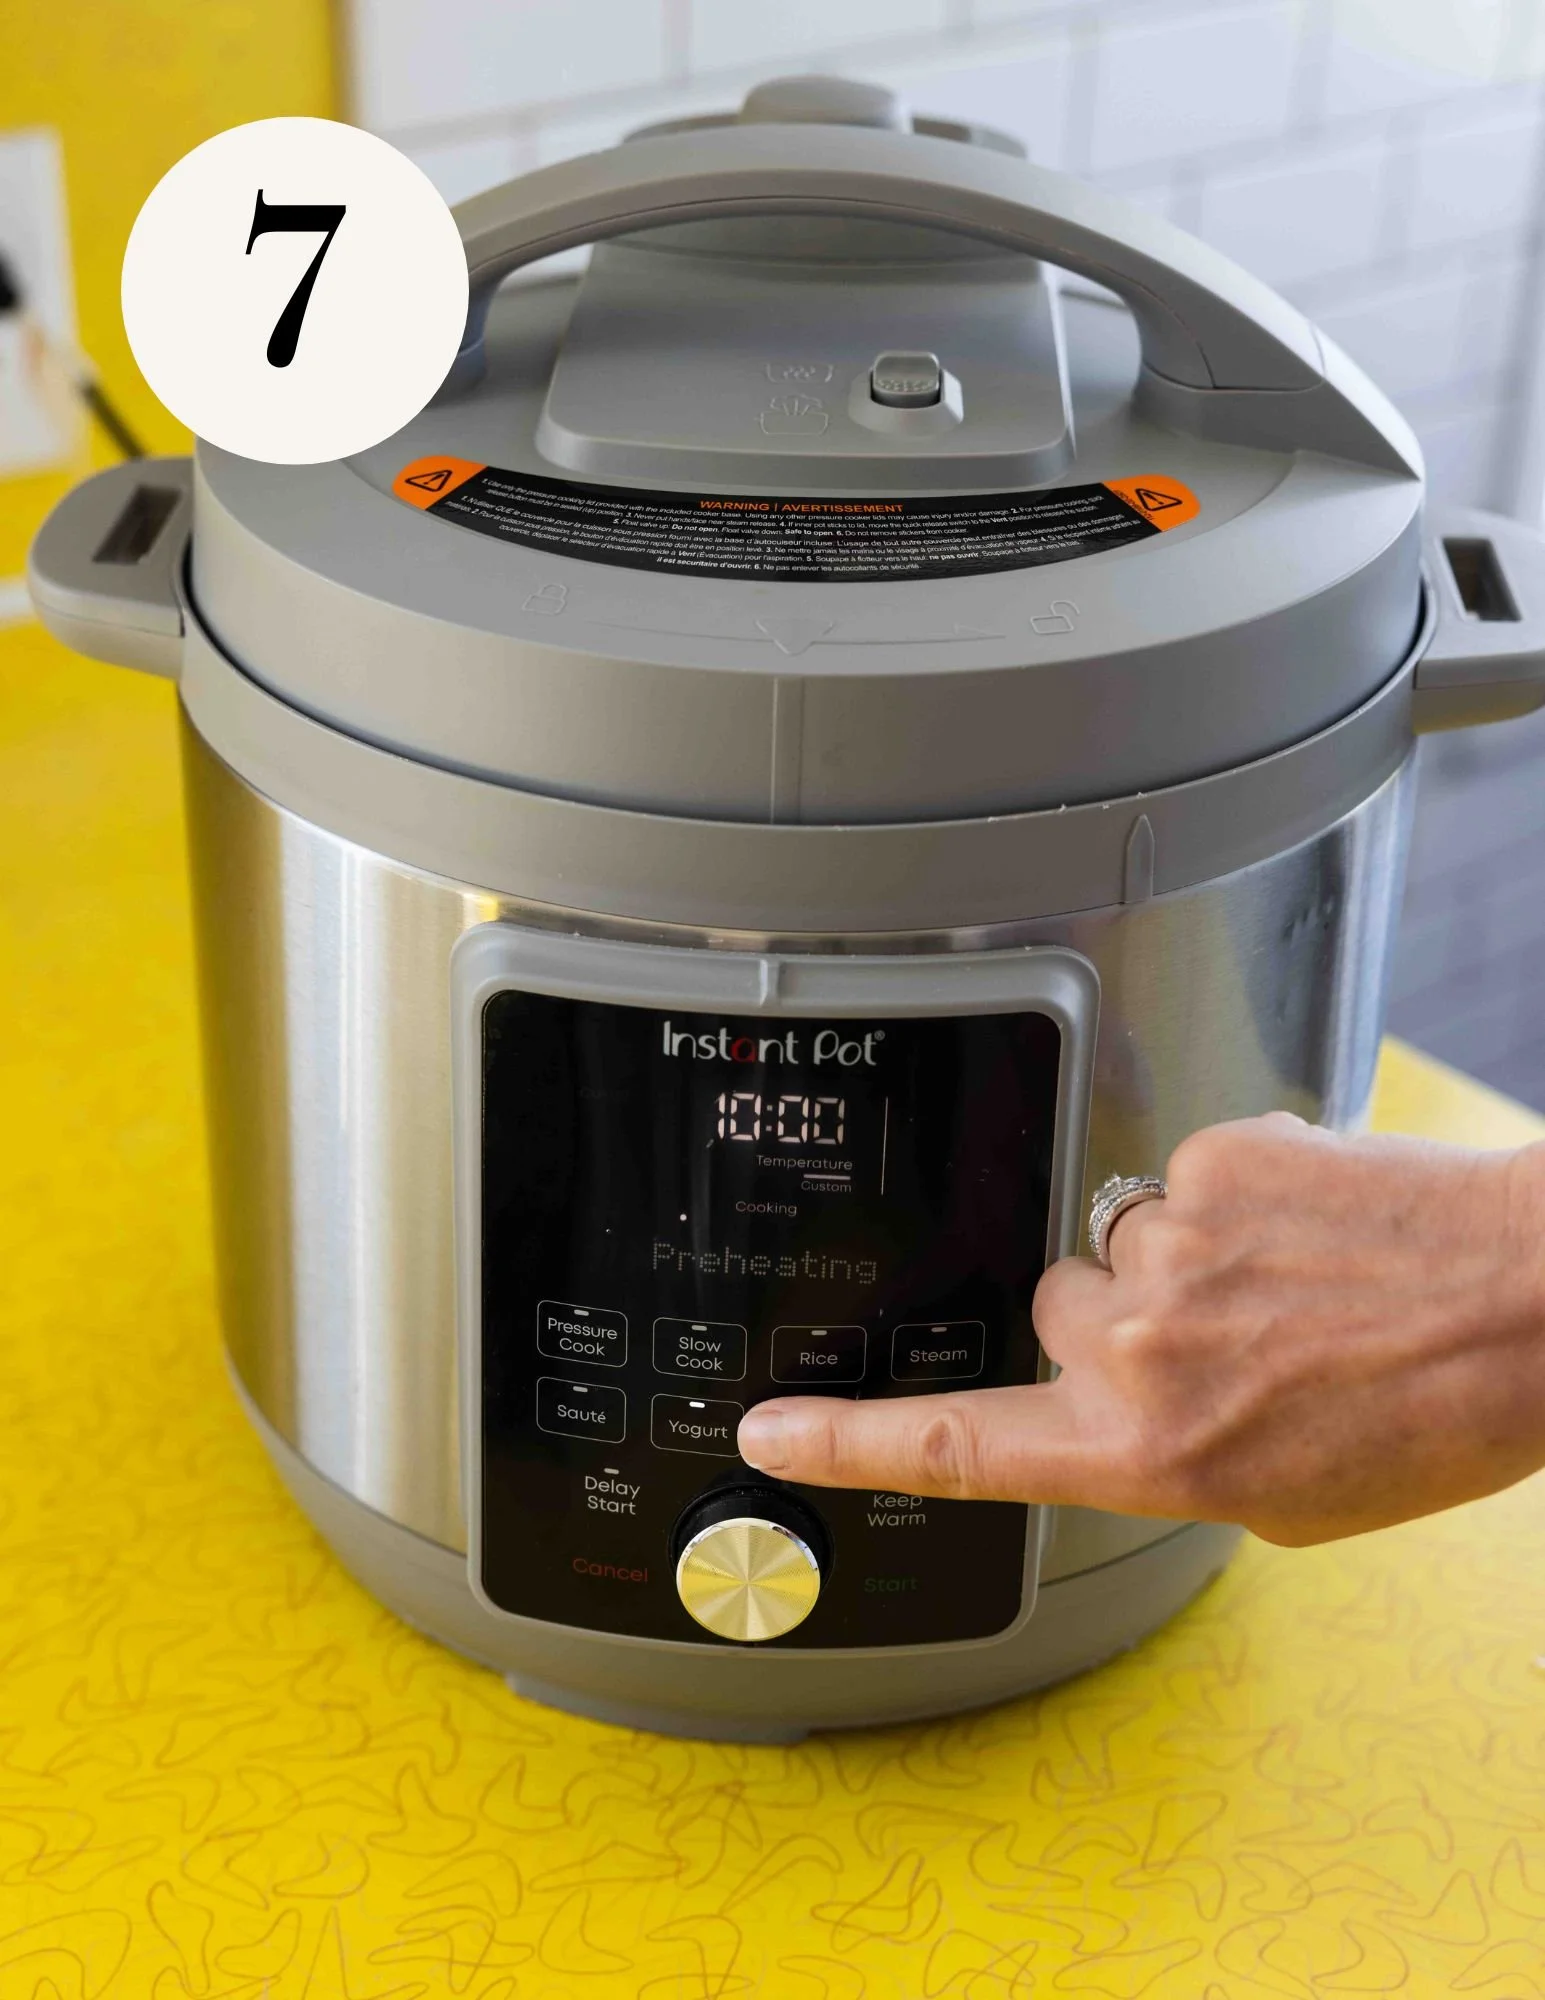
7. Secure the Instant Pot lid and use the yogurt setting at 106°F for 10 hours. After 10 hours, remove the jars, put the lids on, and place them in the refrigerator for 2-3 hours to fully chill and thicken.
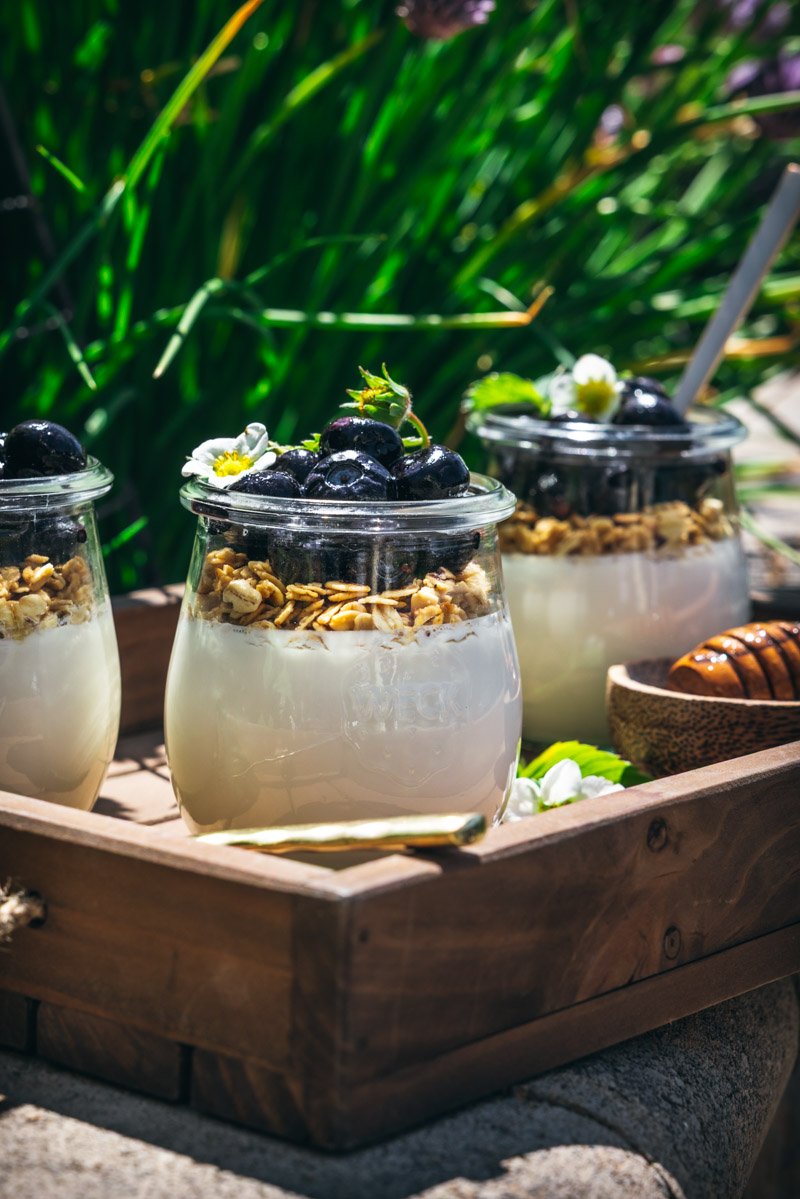
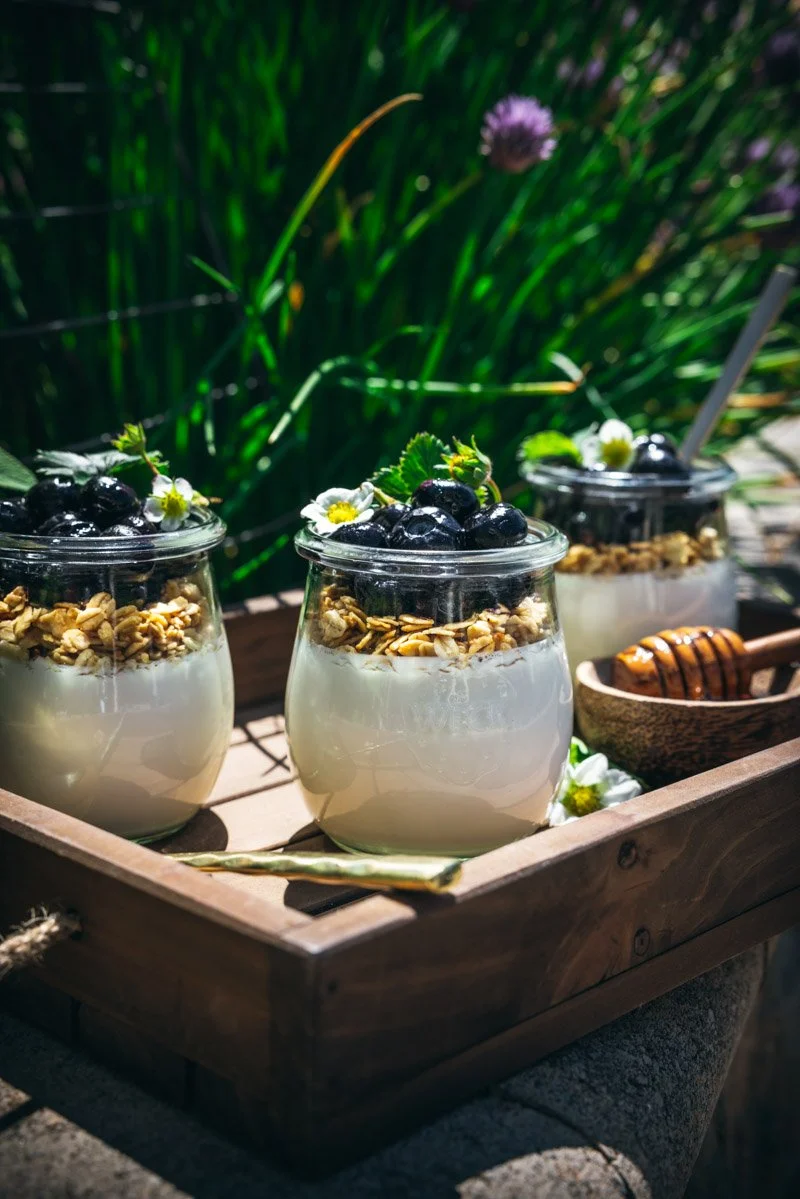
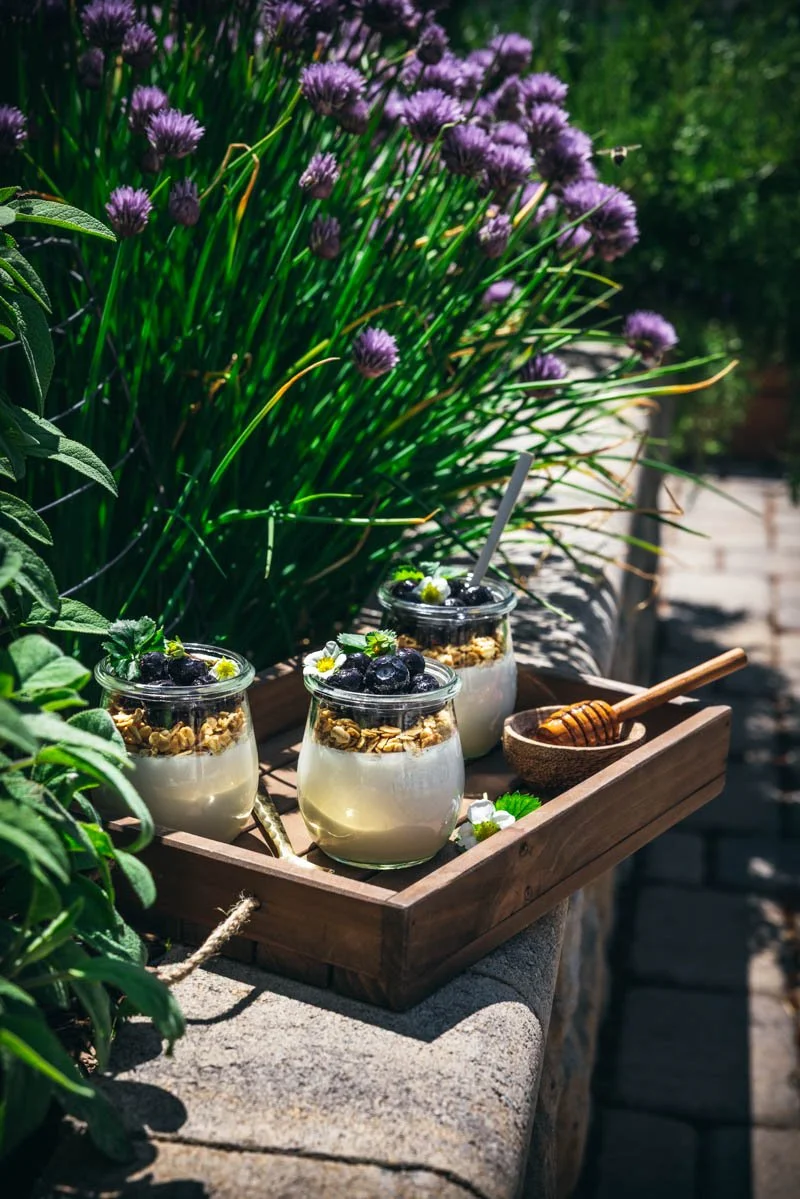
8. Once chilled, enjoy straight from the jar with your favorite toppings!

❄️ How to Store
Store your glass yogurt jars, covered, in the refrigerator for up to one week. Remember to save 2 tablespoons from one of the jars for your next batch of homemade vegan yogurt.
You can freeze soy milk yogurt, keeping in mind that the texture will become slightly grainy, watery, or separated. That said, it’s still perfectly usable.
💫 Troubleshooting
You’ve got a vigorous culture, a fresh box of soy milk, and all the equipment. What could go wrong? If you’ve read the instructions before diving in, I promise you success. But, just in case, here are a few troubleshooting tips.
Runny yogurt –
Simmer your soy milk for 10 minutes before adding the yogurt culture. This step helps denature the proteins, allowing the yogurt to thicken and set more successfully. It also helps eliminate unwanted bacteria, creating a cleaner, more stable environment for fermentation.
Failure to set-
After simmering the soy milk, allow it to cool to 95°F–105°F before whisking in the vegan yogurt culture. If the milk is too hot, it can damage the live cultures and prevent the yogurt from fermenting and setting.
Uneven fermentation-
Runny, grainy texture, or excess separation can happen when the fermentation temperature fluctuates too much. This is rarely a problem in an Instant Pot, using the yogurt setting, but it can happen when using the oven light method.
Off or spoiled yogurt-
Nothing is more devastating than removing the Instant Pot lid after 10 hours, to discover your soy milk yogurt is smelly or didn’t set. Start with really clean equipment to guard against this tragedy.
❓ FAQs
Why do I need to start with store-bought yogurt?
Good question! Store-bought yogurt contains proven, active cultures of live bacteria needed to begin fermentation. After your first batch, you can use your own homemade yogurt as the culture.
Can I make soy milk yogurt directly in the Instant Pot?
Absolutely! But….to make your life easier, why not skip transferring the soy milk yogurt from the inner pot to little jars? You can incubate the yogurt directly in sterile glass jars placed in the Instant Pot for less handling and mess.
Can I make soy milk yogurt without an Instant Pot?
Yes, the oven light method can work IF your oven consistently remains between 95°F–105°F during the fermentation process with just the oven light on. Too much temperature fluctuation will disrupt the culturing process, and your yogurt may not ferment at all.
Before trying the oven light method, do a temperature test first with a bowl of water. If your water stays between 95°F–105°F for the full 10 hours, you’re good to go!
How many batches can I make with the same culture?
Under ideal conditions, you can make a dozen or more batches of homemade soy milk yogurt with the same culture before needing to start over with store-bought vegan yogurt. Consider starting fresh if your yogurt is grainy, watery, or has an overly sharp flavor.
I’m SO proud that you made your own yogurt from scratch! Well done! Soon, you will be able to work this effortlessly into your weekly routine. Having grab-and-go jars on hand feels really really good, and saving money on store-bought yogurt is just as delicious.
❤️ From my little kitchen to yours,
X,o,

Leave a Comment & Rating
If you like this Instant Pot Soy Milk Yogurt Recipe, be sure to leave a comment down below as well as a 5-star rating ⭐️⭐️⭐️⭐️⭐️. This helps others find my website, and I absolutely love hearing about your creations!
And be sure to follow along and tag me on Instagram and Pinterest. Thank you SO much for your support!

Instant Pot Soy Milk Yogurt Recipe
Learn how easy it is to make soy milk yogurt in an Instant Pot! This vegan yogurt recipe is thick, creamy, and high in protein. Made from just two ingredients, it’s budget-friendly and tastes just like plain store-bought yogurt!
Ingredients
Instructions
- Pour in the full box of plain unsweetened organic soy milk into a medium saucepan or cooking pot over medium-high heat. You can do this with the lid on or off. Bring to a simmer. Once simmering, reduce the heat to maintain a gentle simmer. Cook the soy milk for 10 minutes, stirring occasionally. Stick close by the stove as it will tend to boil over the moment you step away.
- Remove the pot from the heat and let it cool, with the lid on (to prevent a skin from forming on the top) until it reaches between 95°-105°F.
- While the soy milk is cooling, you will need to sterilize your equipment. Bring ~ 2 quarts of water to a boil. Pour it into the glass jars. Put the whisk, the kitchen thermometer, the measuring spoon, and the funnel tip in the jars, too. There is no need to sterilize your Instant Pot; just make sure it’s clean. After a few minutes, dump the water out of the jars.
- Once the soy milk is between 95°-105°F, whisk in 2 tablespoons of cultured plain plant-based yogurt until no lumps remain.
- Use the funnel to carefully pour the milk mixture evenly between your prepared jars, leaving a little headroom for toppings. You may need 4 to 6 jars, depending on their size and the size of your Instant Pot. I use 6 Weck tulip jars which fit perfectly in a standard-size Instant Pot.
- Make a warm water bath inside the Instant Pot. Pour warm water, ~ 105°F, into the inner pot until it is about ½-1 inch high. Carefully place each filled jar in the water bath, making sure the water does not spill over into the jars. The water should be as high as the soy milk mixture, not higher.
- Secure the Instant Pot lid and use the yogurt function at 106°F for 10 hours. After 10 hours, remove the jars, put the lids on, and place them in the refrigerator for 2-3 hours to fully chill and thicken.
- Once chilled, enjoy straight from the jar with your favorite toppings!
Notes
The first time you make this recipe, get started with store-bought plain vegan yogurt. This yogurt must have live cultures and is your vegan yogurt starter. You’ll only need 2 tablespoons, so freeze the leftovers. After you make your first batch, save 2-3 tablespoons of homemade vegan yogurt as the starter for your next batch.
❄️ How to Store
- Store your glass yogurt jars, covered, in the refrigerator for up to one week. Remember to save 2 tablespoons from one of the jars for your next batch of homemade vegan yogurt.
- You can freeze soy milk yogurt, keeping in mind that the texture will become slightly grainy, watery, or separated. That said, it’s still perfectly usable.
💫 Troubleshooting
You’ve got a vigorous culture, a fresh box of soy milk, and all the equipment. What could go wrong? If you’ve read the instructions before diving in, I promise you success. But, just in case, here are a few troubleshooting tips.
Runny yogurt –
Simmer your soy milk for 10 minutes before adding the yogurt culture. This step helps denature the proteins, allowing the yogurt to thicken and set more successfully. It also helps eliminate unwanted bacteria, creating a cleaner, more stable environment for fermentation.
Failure to set-
After simmering the soy milk, allow it to cool to 95°F–105°F before whisking in the vegan yogurt culture. If the milk is too hot, it can damage the live cultures and prevent the yogurt from fermenting and setting.
Uneven fermentation-
Runny, grainy texture, or excess separation can happen when the fermentation temperature fluctuates too much. This is rarely a problem in an Instant Pot, using the yogurt setting, but it can happen when using the oven light method.
Off or spoiled yogurt-
Nothing is more devastating than removing the Instant Pot lid after 10 hours, to discover your soy milk yogurt is smelly or didn’t set. Start with really clean equipment to guard against this tragedy.
For step-by-step instructions with photos, faqs, and more, scroll up to blog post!
Nutrition Facts
Calories
53Fat (grams)
3 gSat. Fat (grams)
0 gCarbs (grams)
3 gFiber (grams)
1 gNet carbs
2 gSugar (grams)
1 gProtein (grams)
5 gSodium (milligrams)
60 mgCholesterol (grams)
0 mgNutritional information is provided as a courtesy and is an estimate only. This information comes from online calculators.


